Coolify: Deploy a Next.js App in 4 Steps


Interested in Coolify?
WZ-IT can take care of consulting, installation, support, operation, maintenance, and monitoring for you.
Book your free, no-obligation call here:
Schedule a meeting.
Imagine a blend of Git-based deployment, automated infrastructure management, and a clean dashboard—combined with the freedom to keep your data on your own servers. That's exactly what Coolify offers. Whether it's an old laptop, a Raspberry Pi, or a Hetzner server: as soon as SSH access is possible, the machine can become a PaaS resource with a single click.
Coolify can also serve as a self-hosted alternative to platforms like Heroku, Netlify, or Vercel. It's an open-source solution that lets companies run web apps, databases, and services on their own infrastructure—without relying on third-party providers.
Table of Contents
- Hands-on: Deploy a Next.js App in Four Steps
- Advantages over "classic" cloud PaaS providers
- Conclusion
Hands-on: Deploy a Next.js App in Four Steps
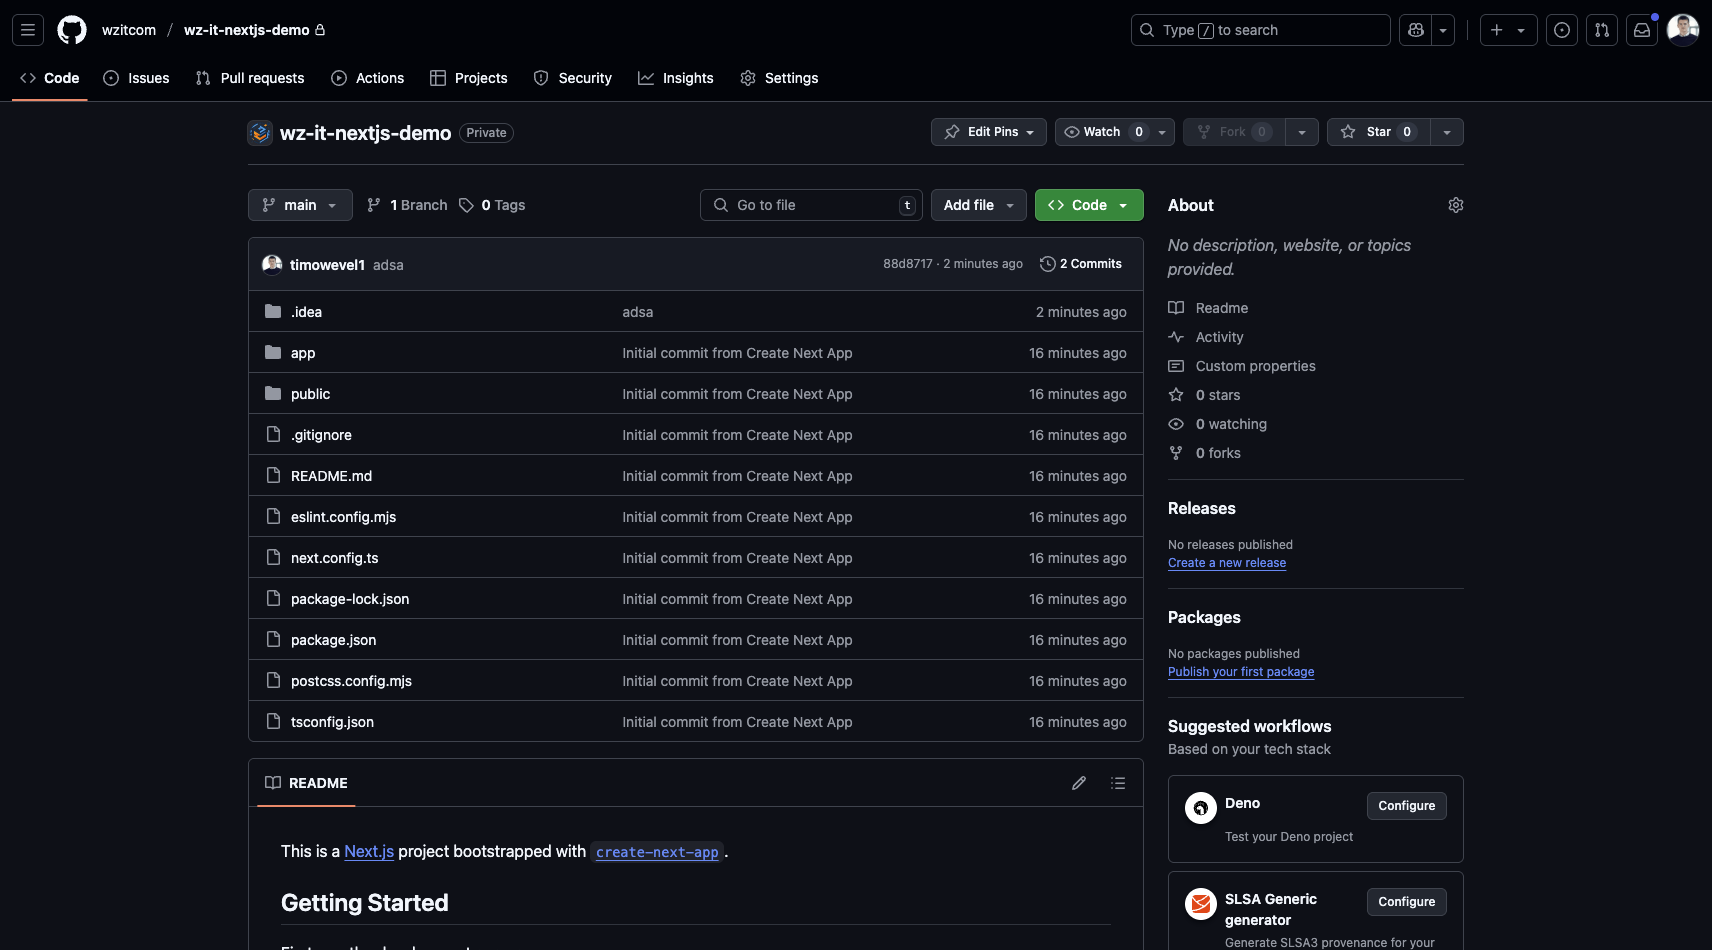
Rather than listing features, let’s dive straight into practice—because that’s where Coolify truly shines. For this demo we’ll deploy a simple Next.js app stored in a GitHub repository, a typical modern web app you can get online quickly with Coolify.
1. Set up Coolify
Install Coolify on a server. Coolify provides a one-liner installer: https://coolify.io/docs/get-started/installation
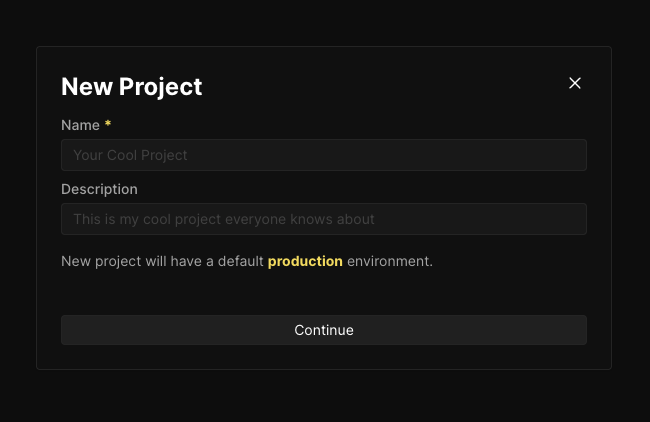
2. Create a project & add a resource
Under “Projects” we create a new project.

Inside the project, add a new Private Repository resource. Connect GitHub via the guided setup and pick your repository.
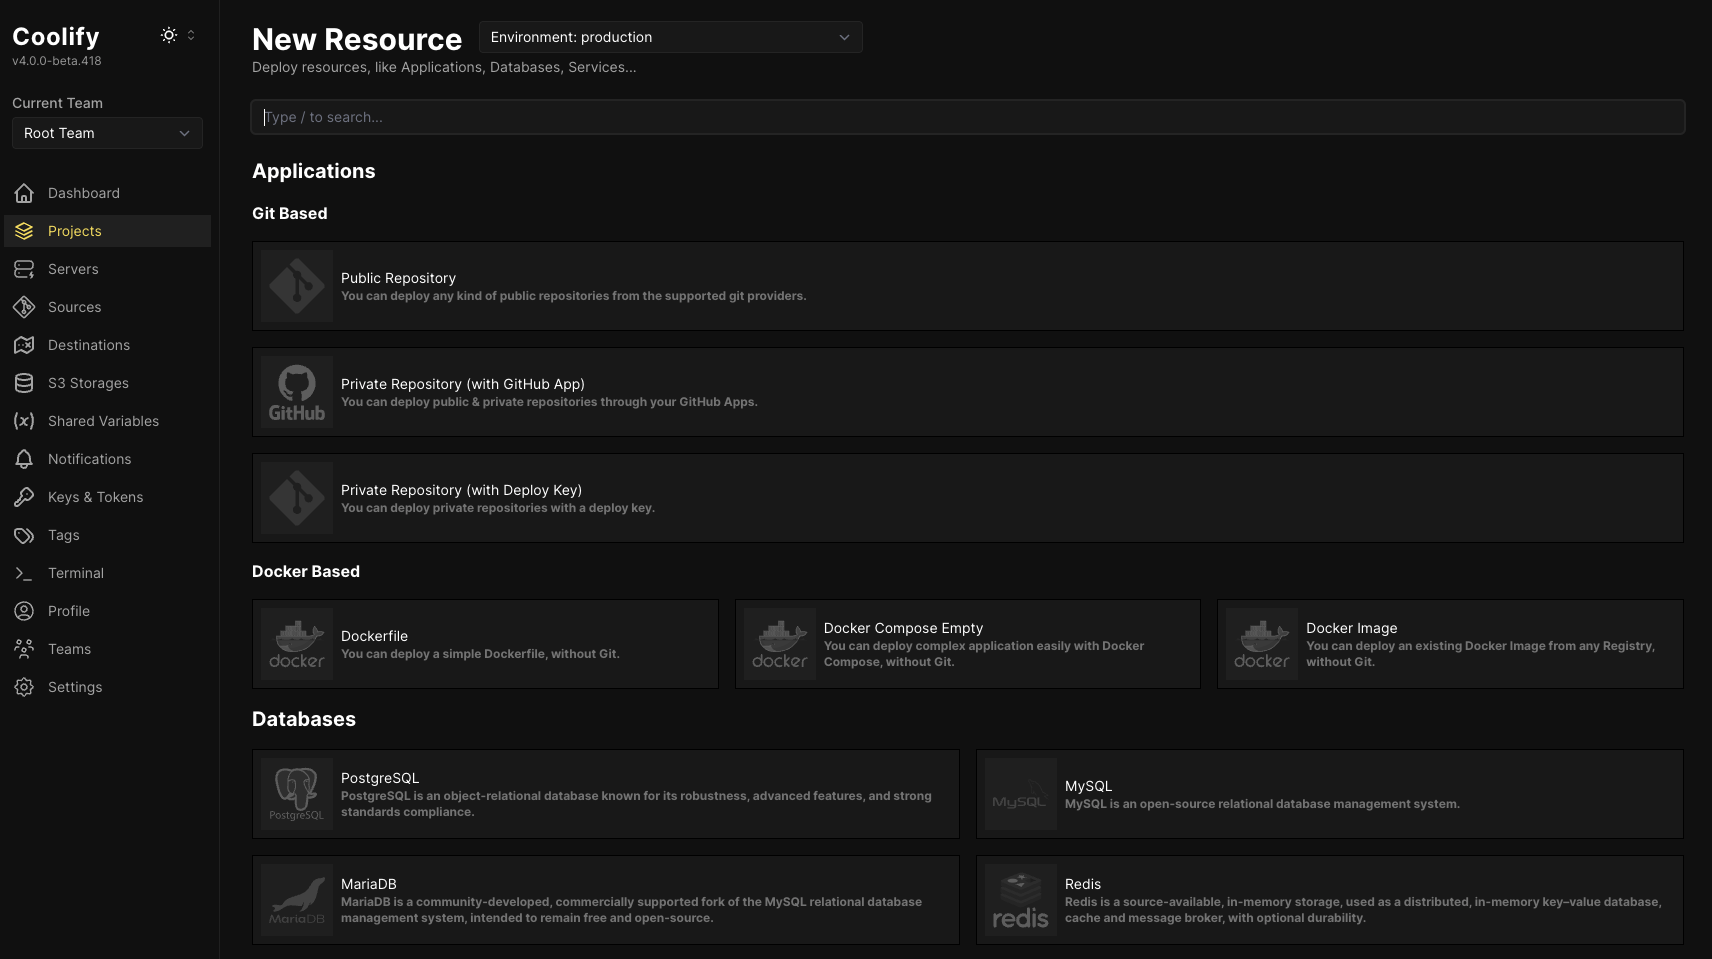
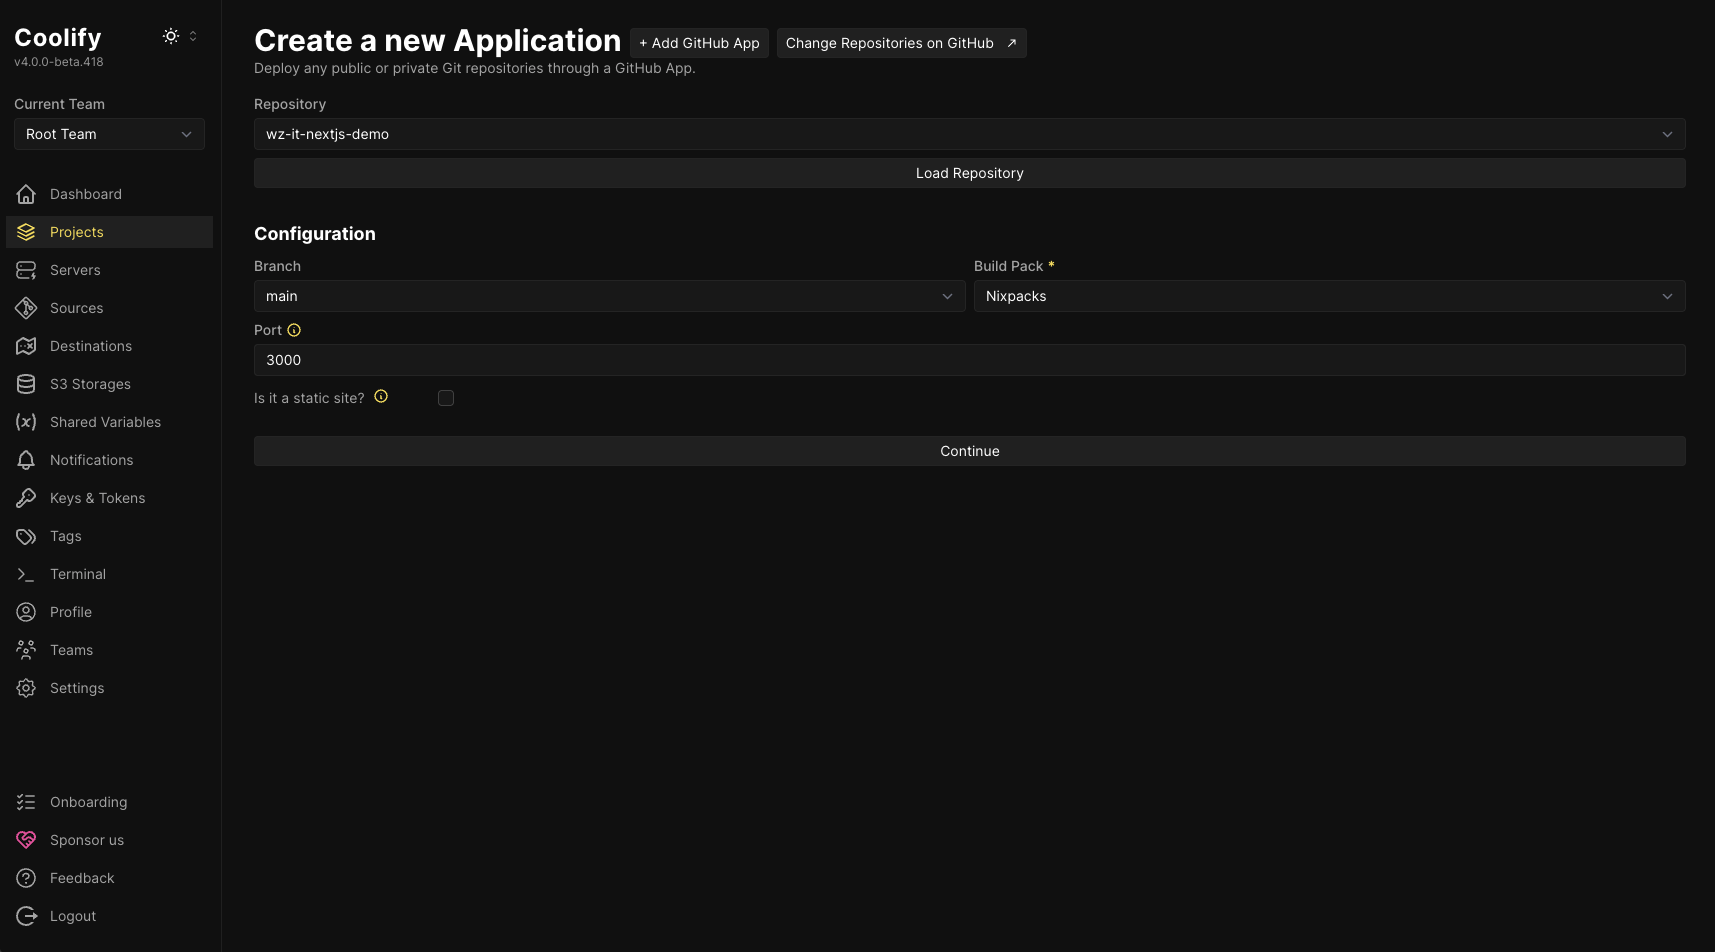
Nixpacks automatically builds the app: it installs dependencies and wraps everything in a Docker container. Click Continue.
3. Assign a domain
By default, your app gets an sslip.io domain pointing to the Coolify server’s IP. To use your own domain, enter it in the field provided. If the DNS is configured correctly, Coolify will secure it with a free Let’s Encrypt SSL certificate on the next deployment.
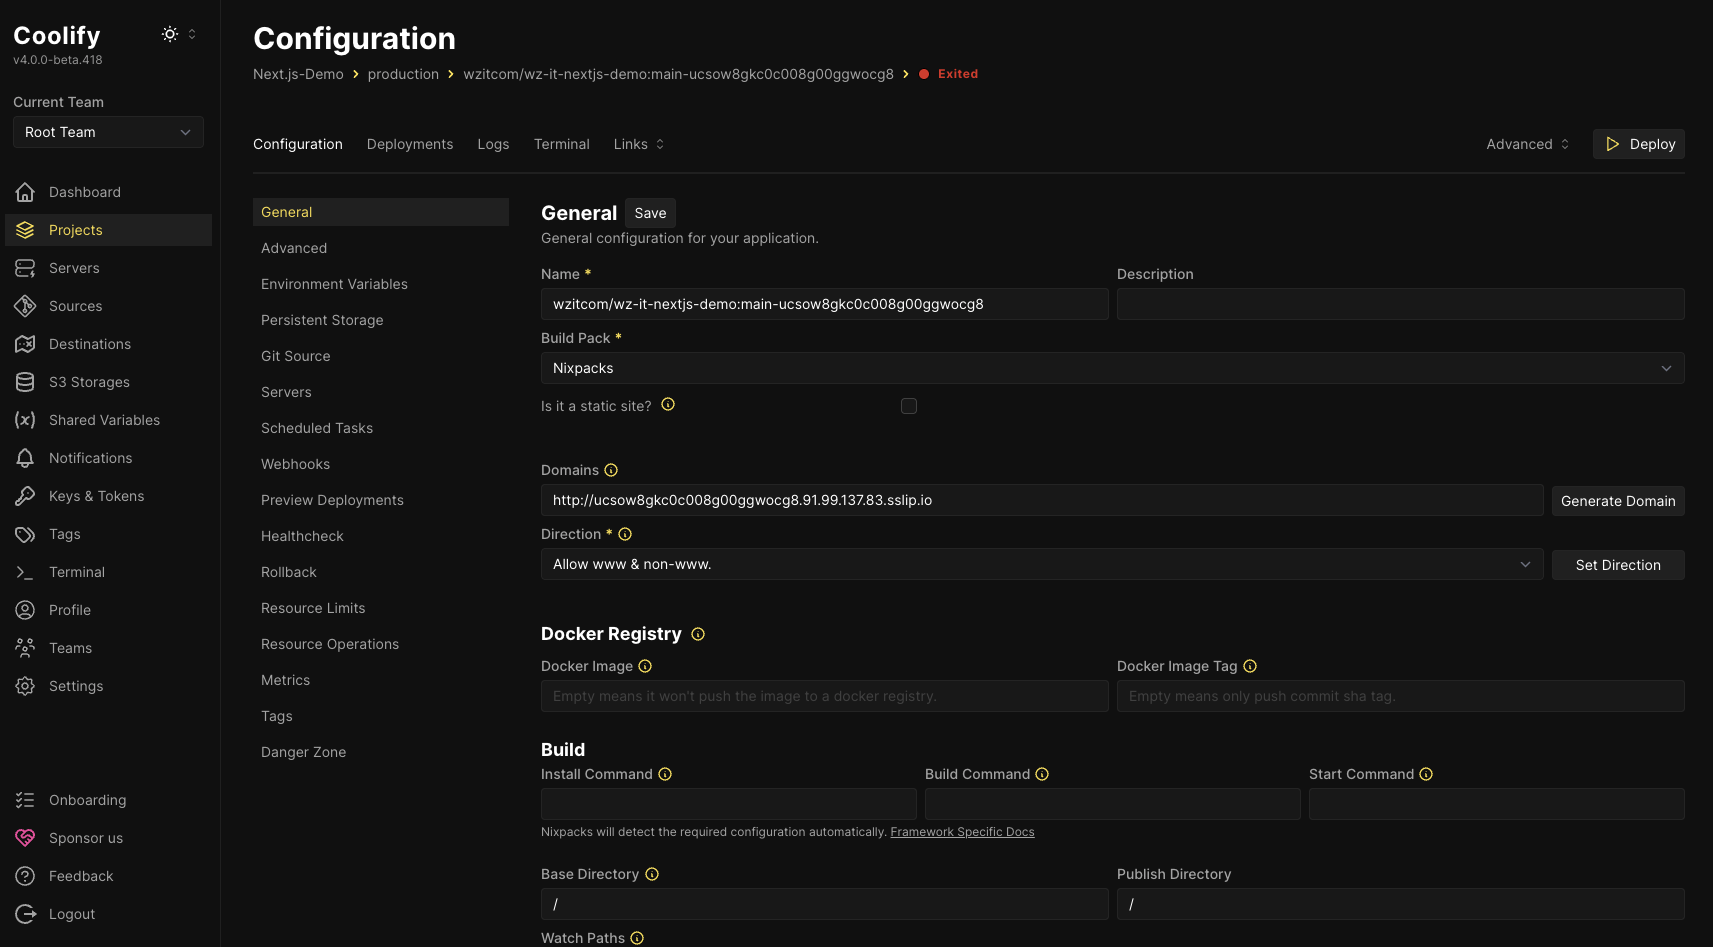
After adding the domain, click Deploy—Coolify handles the rest. In the Deployments tab you can follow the progress: Coolify builds the app, starts the container, and configures the domain.
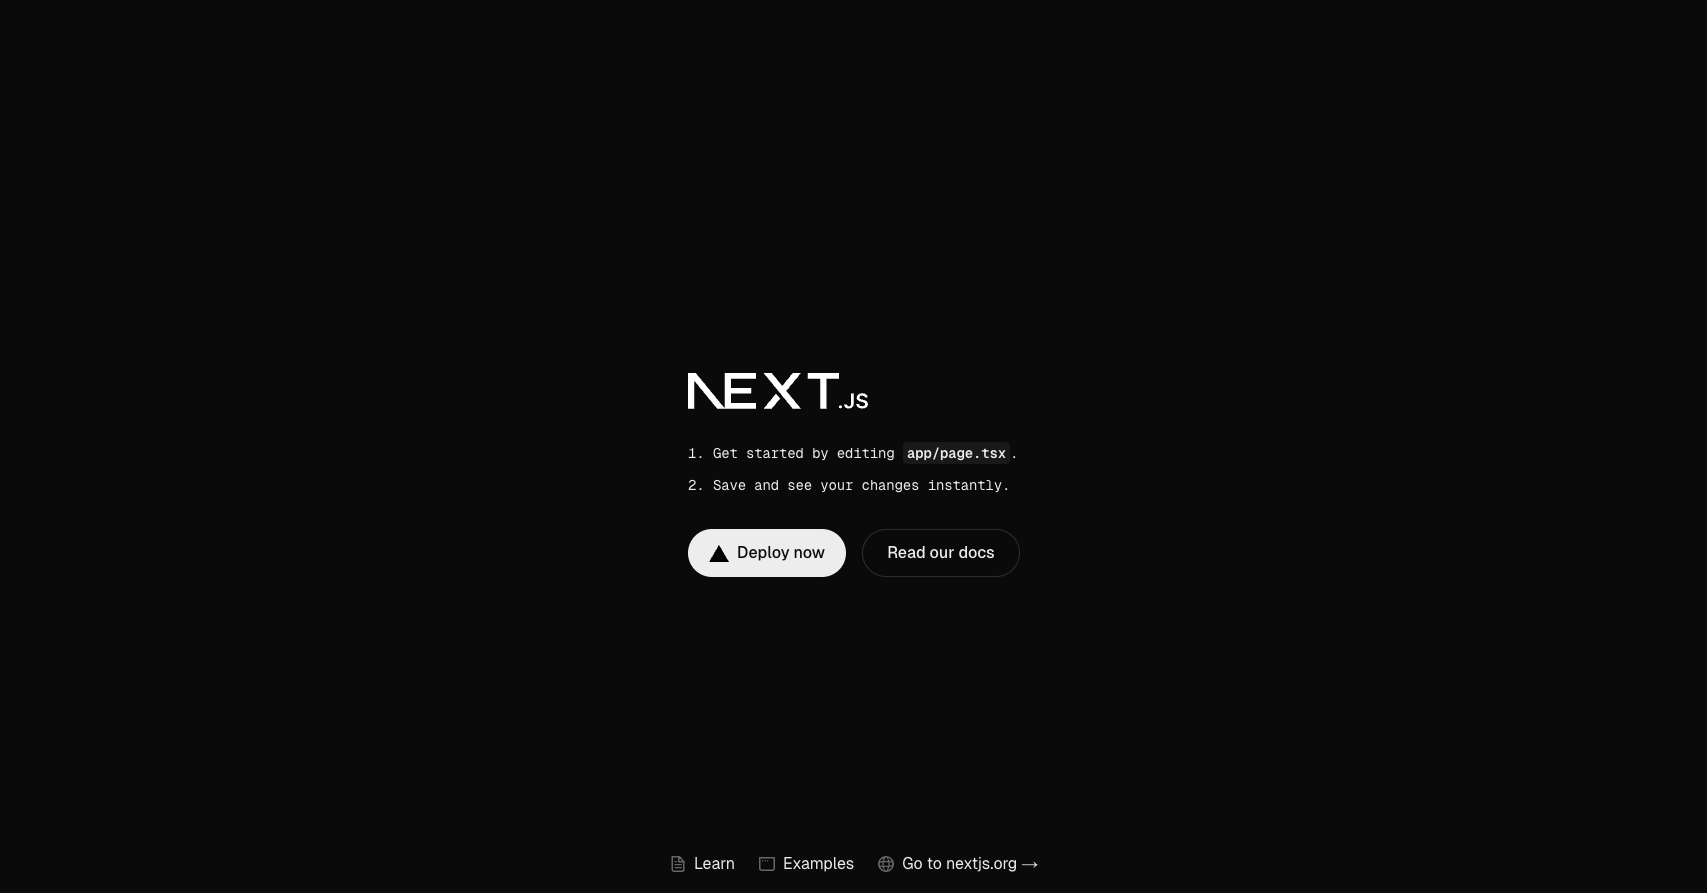
4. Open your app
Once deployment is done, you can access your app via the assigned domain. Coolify keeps the app up to date and automatically rebuilds and redeploys whenever changes land in the repository. In our example we’re using the sslip.io domain pointing to the Coolify server’s IP.
Tip: One-click installers are available for databases or services like PostgreSQL, Redis, or Plausible Analytics—fully dockerized and ready to use.
Advantages over “classic” cloud PaaS providers
- Cost control: You only pay your server bill—no surprises from traffic or build-minute overages.
- Data sovereignty: All settings and data stay on your hardware.
- Extensibility: Custom Docker images? Kubernetes clusters? Coolify is flexible enough for both (K8s support is already on the roadmap).
Conclusion
Coolify combines the convenience of a modern PaaS with the freedom of self-hosting. Whether it's a hobby project or an enterprise SaaS, you can run apps, databases, and services securely, transparently, and cost-effectively on your own infrastructure in just a few clicks.
Curious? Let’s find out in a free call how Coolify can simplify your deployments.
You find more information about Coolify on the official website.
Written by
Timo Wevelsiep
Co-Founder & CEO
Co-Founder of WZ-IT. Specialized in cloud infrastructure, open-source platforms and managed services for SMEs and enterprise clients worldwide.
LinkedInLet's Talk About Your Idea
Whether a specific IT challenge or just an idea – we look forward to the exchange. In a brief conversation, we'll evaluate together if and how your project fits with WZ-IT.
Trusted by leading companies


Timo Wevelsiep & Robin Zins
CEOs of WZ-IT