Paperless-ngx installation on Ubuntu 24.04 with Caddy and automatic SSL certificates


Are you interested in the product presented? Talk to us! At WZ-IT, we take care of consulting, installation, support, operation, maintenance and monitoring of your solution. Arrange your free and non-binding consultation here: Make an appointment.
Recent political developments show that it is becoming increasingly important to retain control over your own data. Paperless-ngx is an open source solution that allows you to host your own DMS while retaining full control over your data. In this guide, we will show you how to install Paperless-ngx on an Ubuntu 24.04 server and automatically set up SSL certificates from Let's Encrypt with Caddy.
Table of Contents
- Prerequisites
- Step 1: Prepare server
- Step 2: Install Docker and Docker Compose
- Step 3: Create users for Paperless-ngx
- Step 4: Install Paperless-ngx
- Step 5: Set up Caddy as a reverse proxy and SSL certificate
- Step 6: Start Paperless-ngx and Caddy
- Firewall configuration
- Conclusion
- AI extension with paperless AI
Prerequisites
- An Ubuntu 24.04 server (e.g. a VPS from Hetzner or another provider)
- Access to the server via SSH
- Domain pointing to the server (at least A entry) (e.g.
paperless.example.com)
In our example, we use the domain paperless-demo.wz-it.com. You can replace this domain with your own domain in the instructions. We have set the domain with an A entry to the IP address of the server on which we want to install Paperless-ngx. Here is an excerpt from the DNS configuration:

Step 1: Prepare server
We log on to the server via SSH as root or a user with sudo rights and update the package list:
apt update && apt upgrade -y
Step 2: Install Docker and Docker Compose
curl -fsSL https://get.docker.com -o get-docker.sh
sh get-docker.sh
rm get-docker.sh
This script installs the latest version of Docker and Docker Compose. Please have a look at the content of the script to understand what exactly happens. In general, it is not a good idea to run scripts from the internet blindly, but in this case it is a common method to install Docker.
Step 3: Create users for Paperless-ngx
We create a new user that will later be used for the Paperless-ngx installation. We also add the user to the Docker group so that they can run Docker commands without sudo. This is important because Paperless-ngx runs in a Docker container and the user needs access to the Docker resources.
adduser --system --group --home /opt/paperless paperless
sudo usermod -aG docker paperless
Step 4: Install Paperless-ngx
Paperless-ngx provides an official Docker-Compose template that we can use. However, a script is also provided that simplifies the installation. In our case, where we want to use the server exclusively for Paperless-ngx, this is a sensible option. However, if we want to place Paperless-ngx in a different setup, this installation method may not be suitable. We download the script and run it:
sudo -u paperless bash -c "$(curl --location --silent --show-error https://raw.githubusercontent.com/paperless-ngx/paperless-ngx/main/install-paperless-ngx.sh)"
The script guides us through an interactive installation process in which we can make some settings.
The following settings are important for our installation:
- URL: Here we enter the domain under which Paperless-ngx should be accessible, e.g.
https://paperless-demo.wz-it.com. - OCR Language: We select
engfor English so that text recognition is performed in English.
We can leave all other settings at the default values and confirm with "Enter". Finally, we set a password for the admin user, which will later be used to access Paperless-ngx.
The script now installs Paperless-ngx and all necessary dependencies. It also creates the necessary directories and configuration files.
Now Paperless-ngx is installed and we can access our instance at http://SERVER_IP:8000. However, the connection is not yet secure as we have not yet set up an SSL certificate.
Step 5: Set up Caddy as a reverse proxy and SSL certificate
Caddy is a simple and powerful web server that automatically issues and manages SSL certificates from Let's Encrypt. We use Caddy to make Paperless-ngx accessible via HTTPS. We can add Caddy to the Docker compose
We open the docker-compose.yml file in the /opt/paperless directory and add the Caddy service. This is what the updated docker-compose.yml looks like:
services:
  broker:
    image: docker.io/library/redis:8
    restart: unless-stopped
    volumes:
      - redisdata:/data
  db:
    image: docker.io/library/postgres:17
    restart: unless-stopped
    volumes:
      - pgdata:/var/lib/postgresql/data
    environment:
      POSTGRES_DB: paperless
      POSTGRES_USER: paperless
      POSTGRES_PASSWORD: paperless
  webserver:
    image: ghcr.io/paperless-ngx/paperless-ngx:latest
    restart: unless-stopped
    depends_on:
      - db
      - broker
    ports:
      - "8000:8000"
    volumes:
      - data:/usr/src/paperless/data
      - media:/usr/src/paperless/media
      - ./export:/usr/src/paperless/export
      - /opt/paperless/paperless-ngx/consume:/usr/src/paperless/consume
    env_file: docker-compose.env
    environment:
      PAPERLESS_REDIS: redis://broker:6379
      PAPERLESS_DBHOST: db
  caddy:
    image: caddy
    network_mode: "host"
    volumes:
      - ./caddy/data/:/data/
      - ./caddy/config/:/config/
      - ./caddy/Caddyfile:/etc/caddy/Caddyfile

volumes:
  data:
  media:
  pgdata:
  redisdata:
We now create the directories for Caddy and the configuration file Caddyfile:
mkdir -p /opt/paperless/caddy
chown -R paperless:paperless /opt/paperless/caddy
We create the file Caddyfile in the directory /opt/paperless/caddy with the following content:
{
    email [email protected] # Your email address for Let's Encrypt notifications
}

paperless-demo.wz-it.com { # Replace this with your domain
    reverse_proxy http://127.0.0.1:8000
}
Here we specify the domain under which Paperless-ngx should be accessible and forward the traffic to the Paperless-ngx web server. Replace paperless-demo.wz-it.com with your own domain. The email address will be used for Let's Encrypt certificate registration. You should enter a valid e-mail address to receive notifications about certificate problems.
Step 6: Start Paperless-ngx and Caddy
We now start Paperless-ngx and Caddy with Docker Compose. We change to the /opt/paperless directory and execute the following command:
sudo -u paperless docker compose up -d
Paperless-ngx should now be accessible via HTTPS. You can check this by going to https://paperless-demo.wz-it.com in your browser. You should see the Paperless-ngx login page.
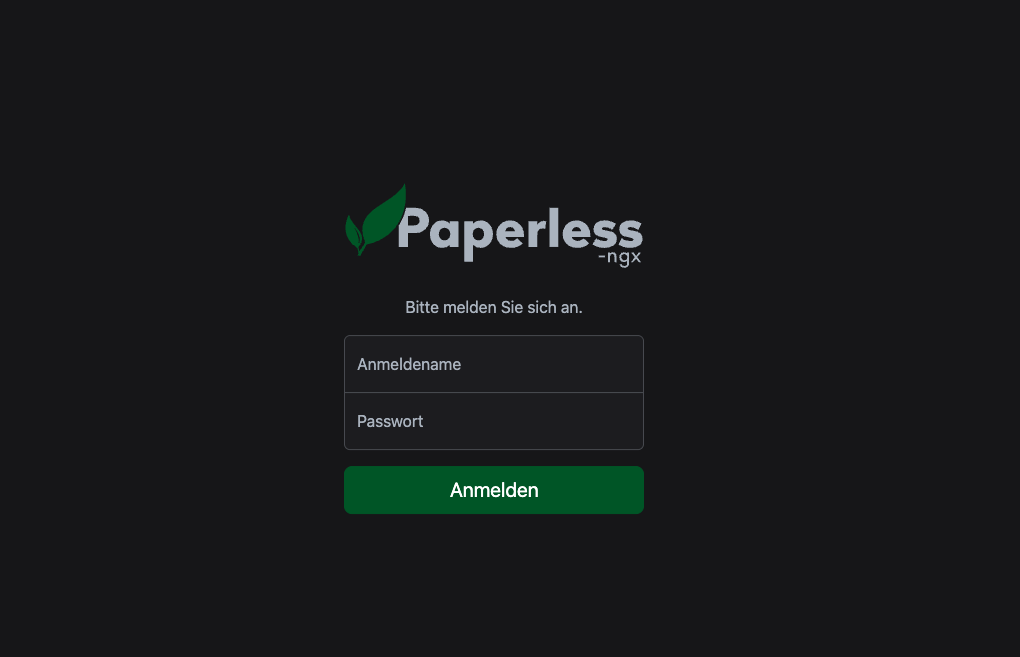 Here you can log in with the admin user that you specified during the installation. The default username is
 paperless and the password is the one you specified during installation.
Firewall configuration
If you have set up a firewall on your server, make sure that ports 80 (HTTP) and 443 (HTTPS) are open. This is necessary so that Caddy can receive requests via HTTP and HTTPS. You can do this with ufw or configure it via the firewall of your cloud provider.
Conclusion
With these instructions, you have successfully installed Paperless-ngx on an Ubuntu 24.04 server and set up an SSL certificate from Let's Encrypt with Caddy. You can now manage your documents securely and privately without having to rely on external cloud services.
AI extension with paperless AI
If you would like to add AI features to your Paperless-NGX installation, take a look at our further article: Paperless AI installation: AI features for your document management.
The installation is an absolute basic installation. In order to use certain features, further steps may be necessary to activate them. Please refer to the official Paperless-ngx documentation for more information on the available features and how to configure them: Paperless-ngx Documentation.
Written by
Timo Wevelsiep
Co-Founder & CEO
Co-Founder of WZ-IT. Specialized in cloud infrastructure, open-source platforms and managed services for SMEs and enterprise clients worldwide.
LinkedInLet's Talk About Your Idea
Whether a specific IT challenge or just an idea – we look forward to the exchange. In a brief conversation, we'll evaluate together if and how your project fits with WZ-IT.
Trusted by leading companies


Timo Wevelsiep & Robin Zins
CEOs of WZ-IT