Proxmox on Hetzner in 5 Minutes: ZFS RAID1 Single-Node Setup with Auto-Install Script


Editorial note: The information in this article was compiled to the best of our knowledge at the time of publication. Technical details, prices, versions, licensing terms, and external content may change. Please verify the information provided independently, particularly before making business-critical or security-related decisions. This article does not replace individual professional, legal, or tax advice.
Run Proxmox on Hetzner professionally? WZ-IT handles setup, network design, operations and support for your Proxmox infrastructure. To the service page →
This post covers a fast, reproducible installation of Proxmox VE on a Hetzner Dedicated Server as a single node with ZFS Mirror (RAID1) – without a KVM console, by booting the server into the rescue system and letting a script automate the installation. As an example, this guide uses a setup that works well with a Hetzner AX41-NVMe.
What You'll Get
- Freshly installed Proxmox VE (automated via ISO + auto-install)
- Root filesystem on ZFS (Mirror/RAID1)
- Typical Proxmox network setup:
- vmbr0 = Public Bridge (IPv4/IPv6)
- vmbr1 = Private Bridge with NAT/Masquerading (practical for internal networks/LXCs/VMs)
- Proxmox Web GUI accessible at
https://<IP>:8006
Important Notes (Please Read)
- Warning: Data Loss. This installation is intended for fresh installs and will overwrite the system on the disks (typical reinstall behavior).
- This is a third-party script (ariadata/proxmox-hetzner). Read through it before running and only use it if you agree that it modifies system and network files as well as APT sources.
- Hetzner's network configuration is somewhat "special" (routing/gateway requirements). If you change things later, refer to Hetzner guidelines.
Proxmox is running - but who keeps it running?
Updates, backups, monitoring and security eat time the moment business-critical VMs depend on it. We run your Proxmox cluster as a managed service: proactive maintenance, high availability, fast response.
Prerequisites
- Hetzner Dedicated Server (Example: AX41-NVMe)
- Access to Hetzner Robot (or Hetzner Cloud Rescue, depending on product)
- SSH Client (Linux/macOS Terminal or Windows PowerShell/WSL)
- Optional: SSH key registered in Robot (more convenient for rescue)
Table of Contents
- Step 1: Activate Rescue System
- Step 2: Start Installation via Script
- Step 3: What the Script Does
- Step 4: Reboot & Login
- Quick Checks After Login
- Sources
Step 1: Activate Rescue System (Hetzner Robot)
- In Hetzner Robot: Servers → select your server → Rescue
- Select Linux / 64-bit (public key optional) and activate rescue
- Then in the Reset tab, trigger a Hardware Reset
- SSH into the rescue system as
root(password is shown in Robot)
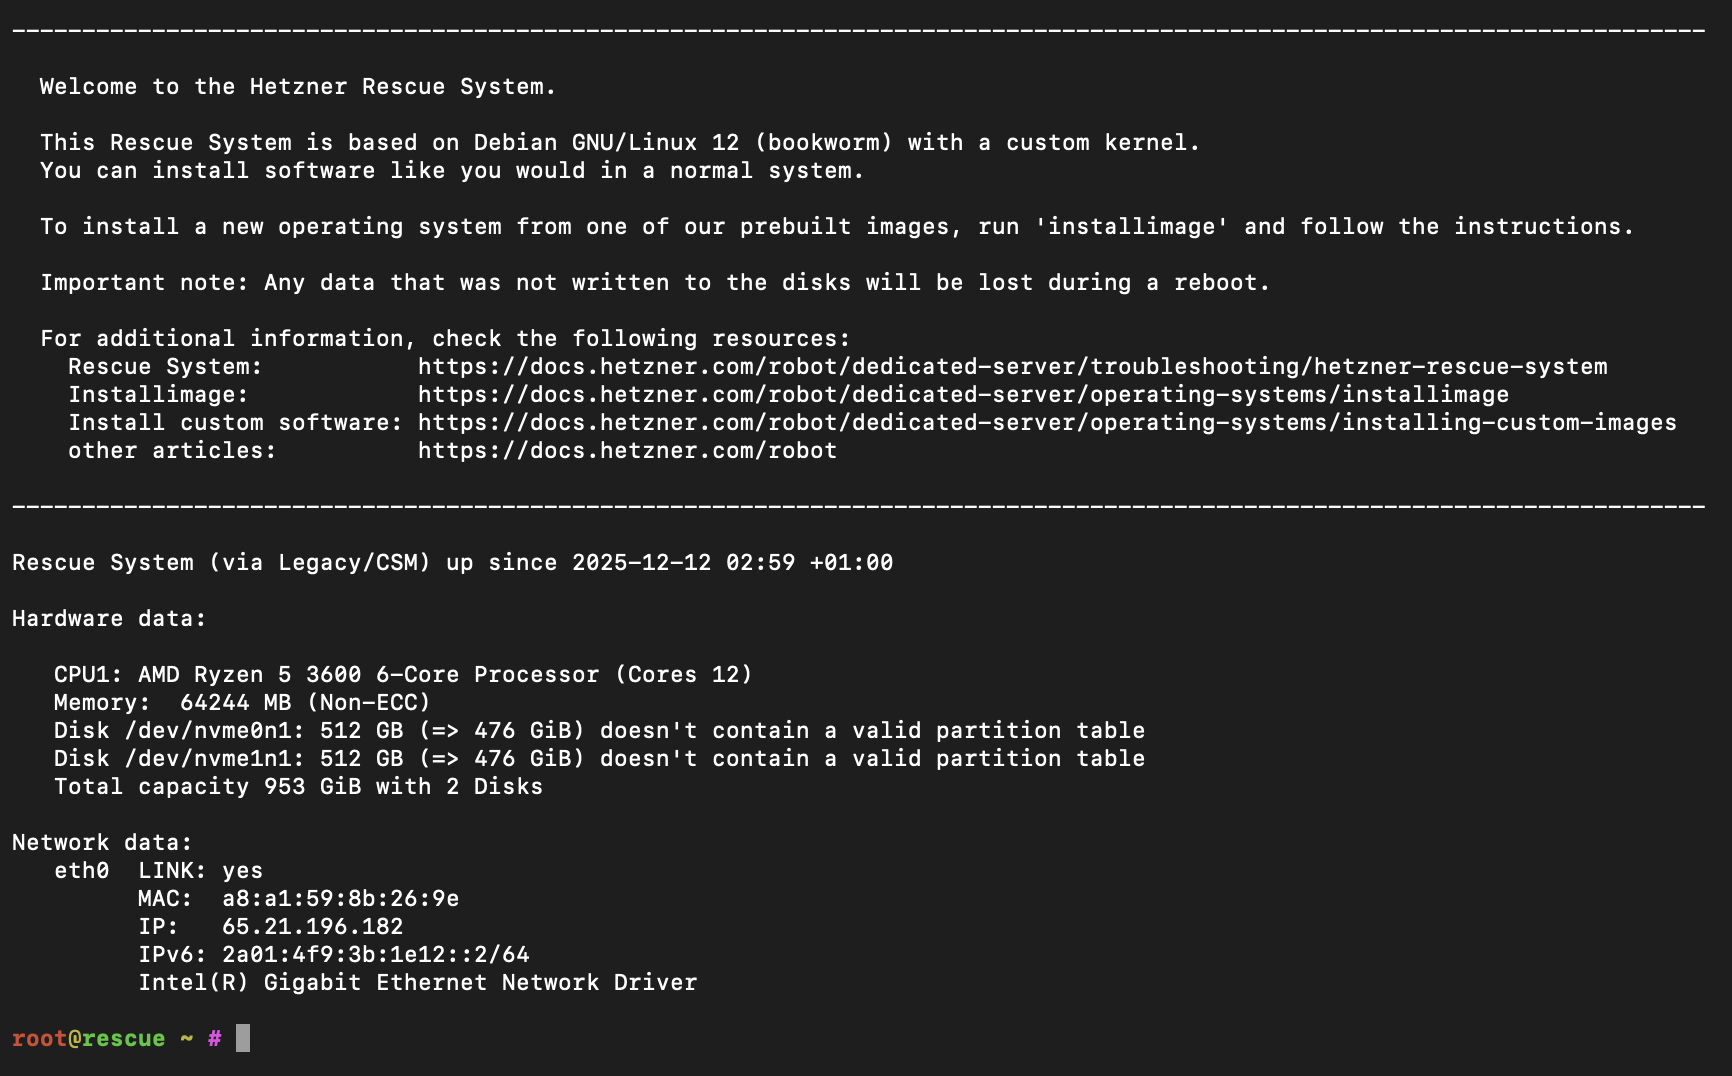
Step 2: Start Installation via Script
In the rescue system as root:
bash <(curl -sSL https://github.com/ariadata/proxmox-hetzner/raw/main/scripts/pve-install.sh)
The project describes the process as an automated installation without console (ISO is downloaded, auto-install configuration is created, ZFS RAID1 is set up, network IPv4/IPv6 is configured, hostname/FQDN etc.).
What the script interactively asks:
- Network interface (e.g.,
eno1) - Hostname & FQDN
- Timezone & email
- Private subnet (for vmbr1/NAT)
- New root password

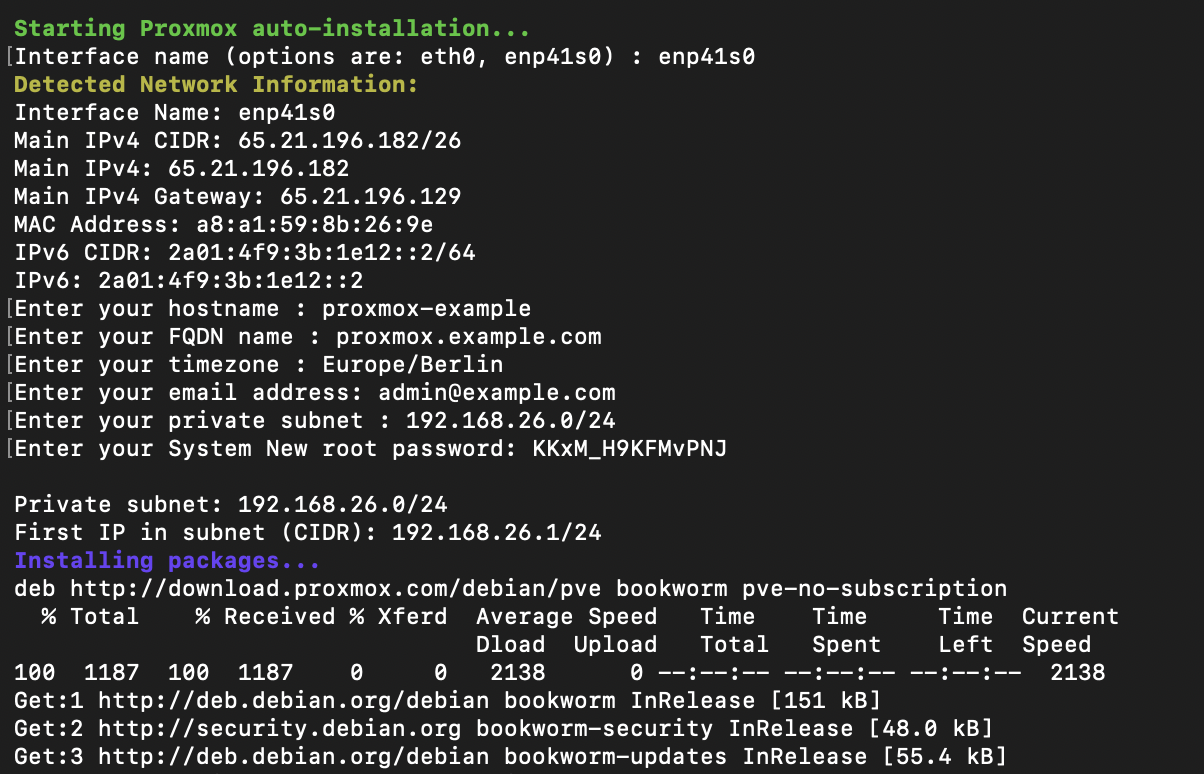
After confirmation, the automatic installation begins:
Step 3: What the Script Does Technically (Brief & Transparent)
So you know what's happening, here are the key components:
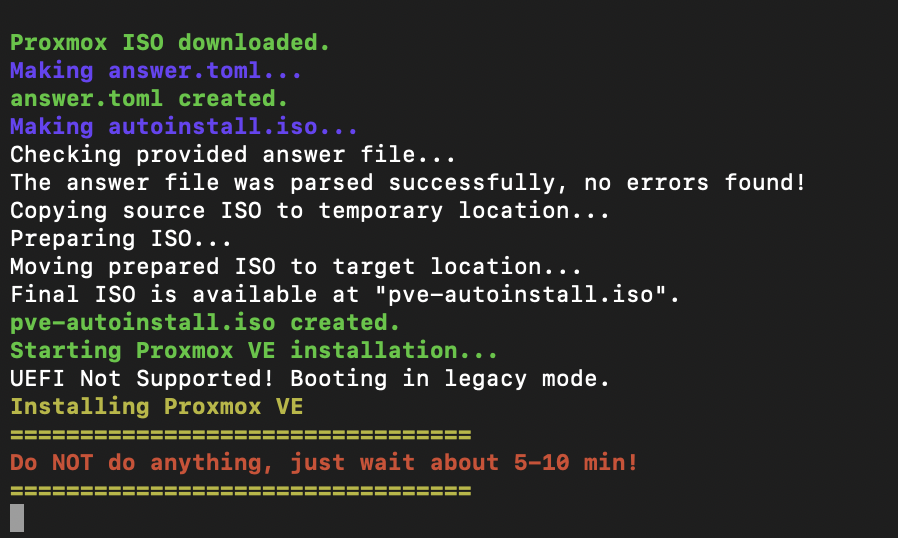
1) Proxmox ISO + Auto-Install
The script downloads a Proxmox VE ISO (automatically "latest") and creates an auto-install ISO via the Proxmox auto-install assistant.
2) ZFS Mirror (RAID1)
The auto-install answer file sets:
filesystem = "zfs"zfs.raid = "raid1"- Installation on two disks (as
vda/vdbin the installer)
Proxmox has supported ZFS as a root option for years (no manual module building required).
3) Installation via QEMU in Rescue
The Proxmox installation is booted in a QEMU VM within the rescue system, installing directly to the server disks (virtually mapped as vda/vdb).
4) Network Setup in Proxmox (vmbr0/vmbr1)
After installation, the script briefly boots the freshly installed environment with SSH port forwarding, copies prepared template files over, and sets up:
/etc/network/interfaceswithvmbr0(Public Bridge, IPv4 + IPv6)vmbr1(Private Bridge) plus NAT/MASQUERADE iptables rules
- IP forwarding via sysctl (
net.ipv4.ip_forward=1,net.ipv6.conf.all.forwarding=1)
This is practical when you want to run VMs/LXCs "internally" first without immediately routing public IPs.
Step 4: Reboot – and Log into Proxmox
After completion, the script asks if it should reboot:

After that, your server boots into the installed Proxmox.
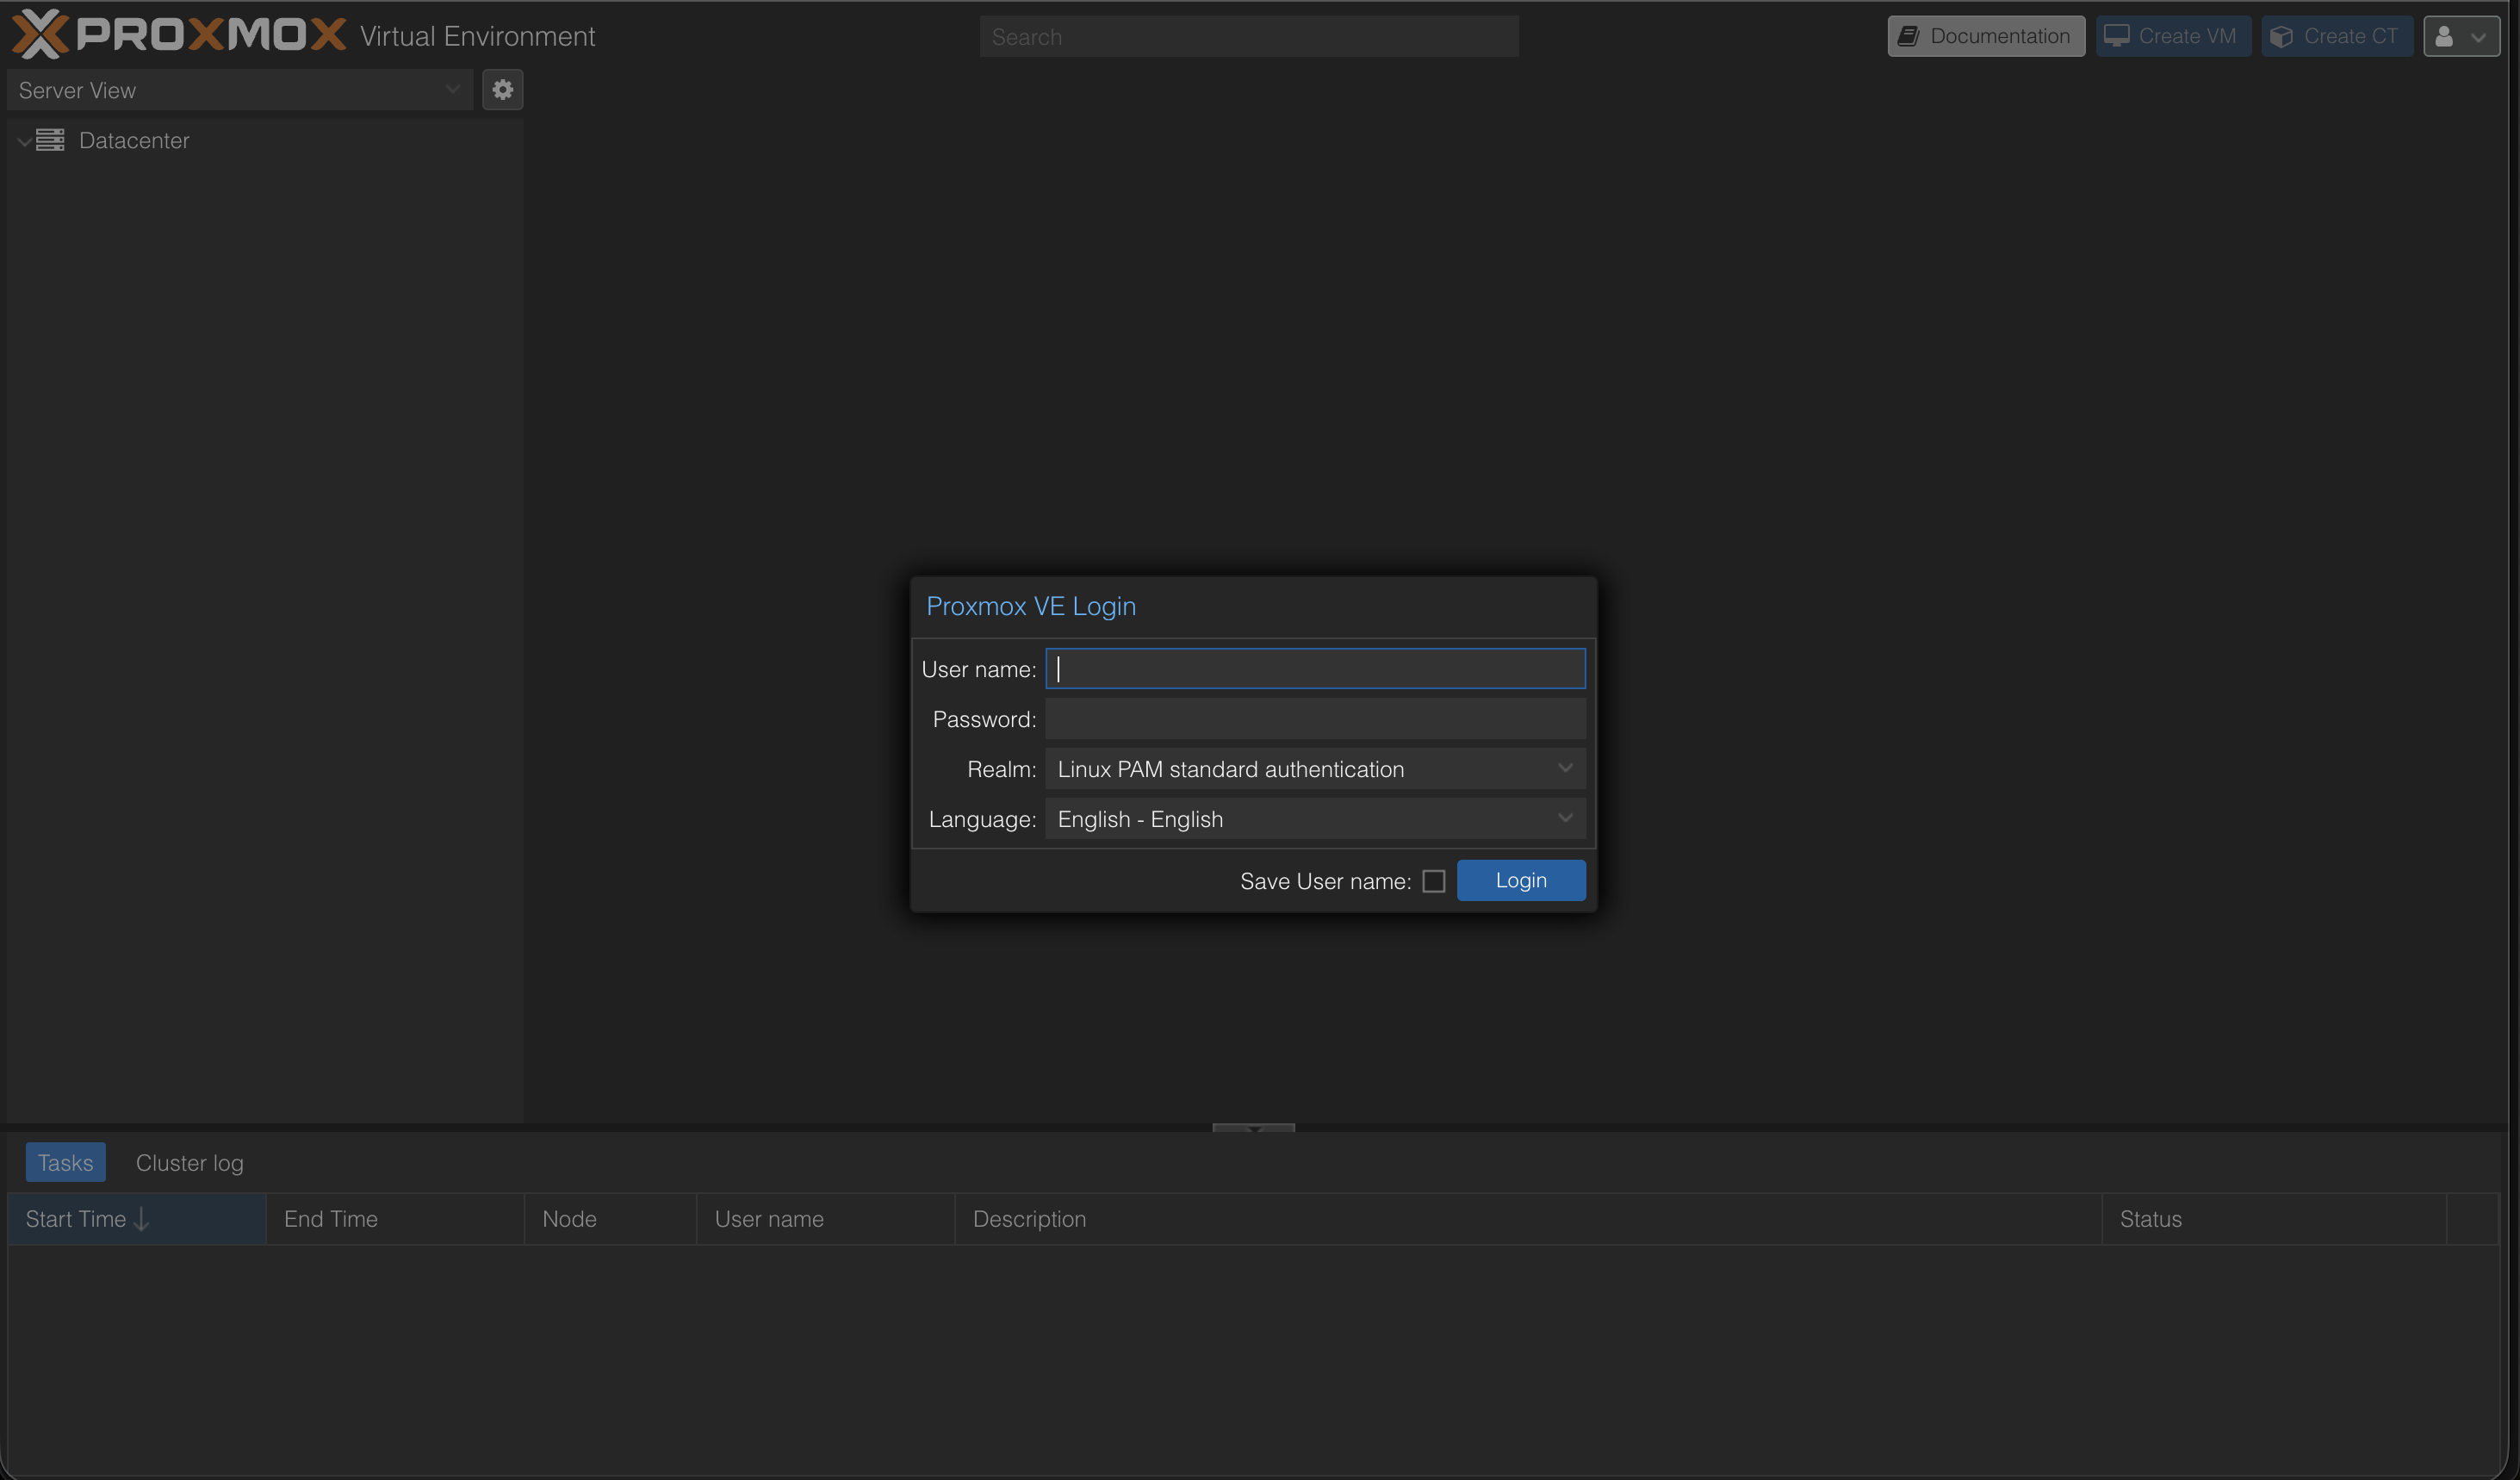
Access the web interface at:
https://<your-server-ip>:8006
Login:
- User:
root - Password: the password you set (in the script/installer)
Quick Checks After Login
1. Check ZFS Pool (Shell on Node)
zpool status
zfs list
You should see a mirror pool (ZFS RAID1). The ZFS root setup is the core of this approach.
2. Check Network Bridges
Datacenter → <Node> → System → Network
You should see vmbr0 and vmbr1 (Public/Private).
Optional: Next Steps
- Update system:
apt update && apt dist-upgrade -y - Update ISO index and load templates
- Remove subscription warning: Tutorial: Remove Proxmox Subscription Notice
- If you want to manually adjust Hetzner-specific network details (additional IPs/subnets/routing): Hetzner Community Tutorials are a good reference.
Next step
Outsource your Proxmox maintenance?
We plan, run and monitor virtualized infrastructure on Proxmox VE - on dedicated hardware, in the cloud or hybrid. Including patch management, backups and CVE monitoring.
Read next: VMware to Proxmox migration · Setting up Proxmox Backup Server · Private cloud for SMEs
Sources
- Hetzner Docs: Rescue System
- Hetzner Community: Install Proxmox & Networking
- Proxmox Docs: Web GUI
- Proxmox Wiki: ZFS on Linux
- GitHub: ariadata/proxmox-hetzner
Further Guides
- Proxmox on Hetzner – Managed Service
- Proxmox Overview
- Proxmox Maintenance & Support
- Proxmox Backup Server
- Hetzner Expertise
- Proxmox Cluster Network on Hetzner
Have questions about Proxmox, virtualization, or cluster setups on Hetzner? We support you with installation, operations, and optimization. Schedule a consultation now
Frequently Asked Questions
Answers to important questions about this topic
Via the Hetzner Rescue System over SSH: Activate rescue, restart the server, run an install script – the rest runs automatically.
Yes – that's exactly what this guide is built for (AX41-NVMe as example, single node).
It creates an automated Proxmox installation, sets up ZFS as root filesystem in mirror mode, and configures network/hostname/FQDN.
Yes. The installation overwrites the system disks. Make sure to pull backups beforehand.
A ZFS Mirror equals RAID1: Data is mirrored on two drives. If one SSD fails, the system keeps running.
You get a minimal live system from which you can start the installation completely remote – without a physical console.
Via HTTPS in your browser (port 8006). Login: root + the root password you set.
vmbr0 is the public bridge (public IP), vmbr1 is an internal private bridge network for VMs/containers with NAT.
Yes, if vmbr1 is set up as a private network with NAT. The host does masquerading to the outside.
At minimum: SSH (22) and Proxmox Web (8006). Recommendation: keep as few ports open as possible.
For production it's recommended. For tests/homelab it works without – then use the no-subscription repo.
On the shell: run zpool status. You should see a mirror vdev and both devices as ONLINE.
Yes – for many workloads a single host is sufficient. For high availability you need multiple nodes + quorum setup.
Written by
Timo Wevelsiep
Co-Founder & CEO
Co-Founder of WZ-IT. Specialized in cloud infrastructure, open-source platforms and managed services for SMEs and enterprise clients worldwide.
LinkedInLet's Talk About Your Idea
Whether a specific IT challenge or just an idea - we look forward to the exchange. In a brief conversation, we'll evaluate together if and how your project fits with WZ-IT.
Leading companies trust WZ-IT


Timo Wevelsiep & Robin Zins
Managing Directors of WZ-IT