Paperless-AI Installation: AI-Powered Document Analysis for Paperless-NGX


Interested in the featured product? Contact us! At WZ-IT we provide consultation, installation, support, operation, maintenance and monitoring of your solution.
Installation Service - Professional installation on your infrastructure (on-premise, cloud or hybrid) with AI integration, RAG setup and security hardening.
Managed Hosting Service - GDPR-compliant enterprise managed hosting in Germany with 24/7 monitoring, support SLA and automatic updates.
Schedule your free and non-binding consultation here: Schedule appointment.
Paperless-AI is an AI-powered extension for Paperless-NGX that takes your document management to the next level. With automatic document classification, intelligent tagging, and semantic search, you can manage your documents even more efficiently. In this guide, we'll show you how to add Paperless-AI to your existing Paperless-NGX installation.
Prerequisite: This guide assumes you already have Paperless-NGX installed. If not, first follow our Paperless-NGX installation guide.
Faster with our installer script! We've created a free one-liner installer script for Paperless-AI: Paperless-AI Installer Script - Installation with a single command including automatic Docker setup and optional HTTPS via Caddy.
Table of Contents
- Features of Paperless-AI
- Requirements
- Installation
- Set up HTTPS with Caddy
- Initial Configuration
- Restart container (important!)
- Usage
- Operation Tips
- Troubleshooting
- Conclusion
Features of Paperless-AI
Paperless-AI extends Paperless-NGX with impressive AI capabilities:
Automatic Document Processing
- Automatically detects new documents
- Analyzes content using AI models
- Automatically assigns title, tags, document type, and correspondent
RAG-Based AI Chat
Ask natural language questions about your documents:
- "When did I sign my rental agreement?"
- "What was the amount of the last electricity bill?"
- "Which documents mention my health insurance?"
Flexible Configuration
- Enable only the features you want
- Define rules for document processing
- Supports various AI models
Requirements
- Ubuntu Server (tested with 24.04)
- Working Paperless-NGX installation
- Docker and Docker Compose
Installation
1. Navigate to the Paperless directory
cd /opt/paperless
2. Clone and start Paperless-AI
sudo git clone https://github.com/clusterzx/paperless-ai.git
cd paperless-ai
sudo docker-compose up -d
That's it! Paperless-AI is now running on port 3000.
3. Get API key from Paperless-NGX
Log into your Paperless-NGX installation and navigate to your profile settings. There you'll find your API token, which you'll need for connecting to Paperless-AI.
Set up HTTPS with Caddy
Since you're already running Paperless-NGX with Caddy, we'll add Paperless-AI as a subdomain.
1. Create DNS record
Create an A record for your subdomain:
- Subdomain:
paperless-ai - Type: A
- Target: Your server's IP address
2. Extend Caddy configuration
Edit your existing Caddy configuration:
sudo nano /opt/paperless/caddy/Caddyfile
Add the following section:
# Paperless-AI subdomain
paperless-ai.your-domain.com {
    reverse_proxy localhost:3000
}
3. Reload Caddy
sudo systemctl reload caddy
Caddy will automatically create an SSL certificate for the new subdomain.
Initial Configuration
1. Open Paperless-AI Setup Wizard
Open in your browser:
https://paperless-ai.your-domain.com
The setup wizard starts automatically on first access.
2. Set up Paperless-NGX connection
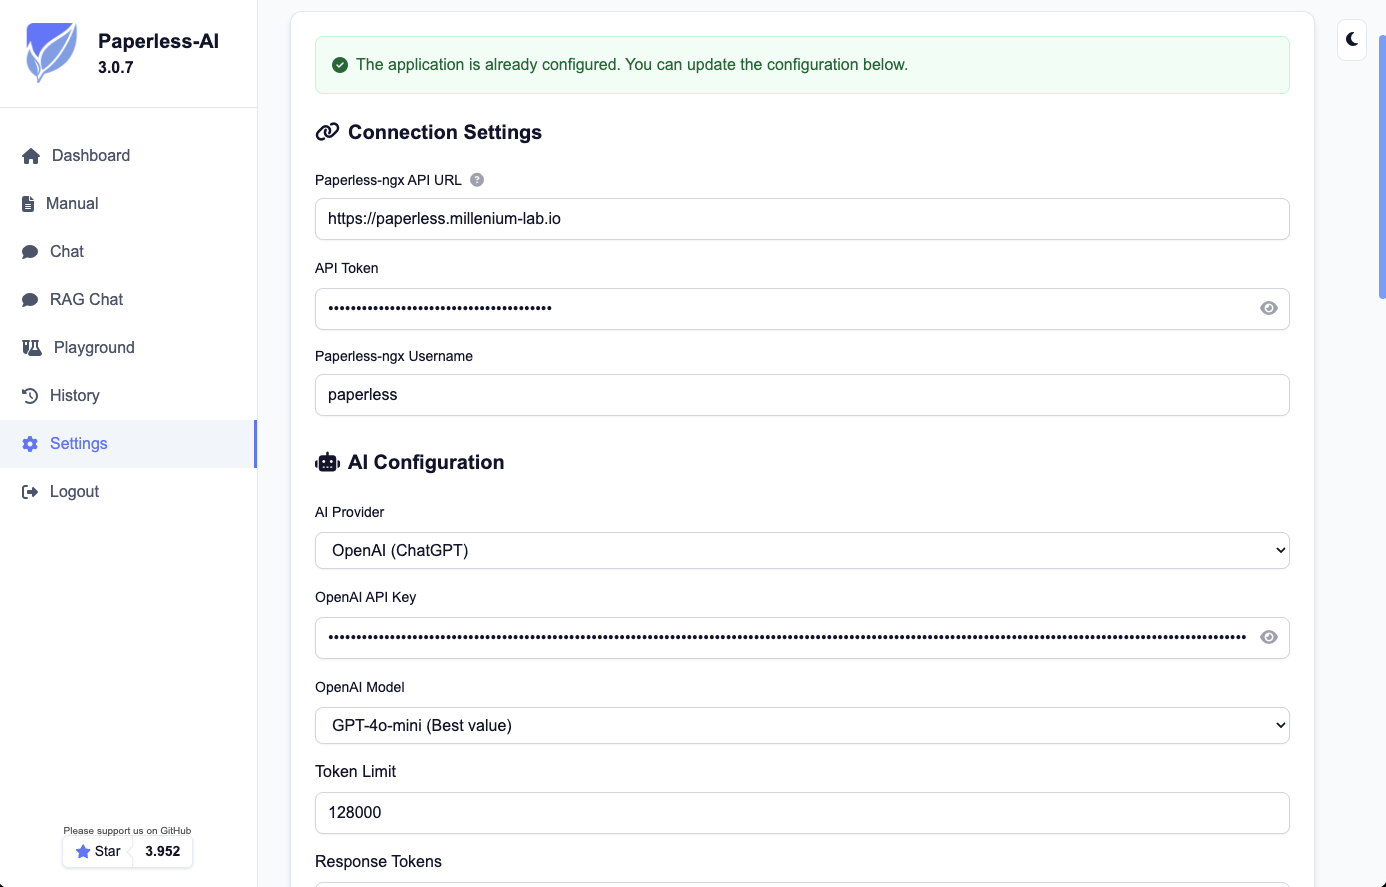
In the setup wizard:
- Paperless URL: Enter the HTTPS URL of your Paperless-NGX installation
Example:https://paperless.your-domain.com - Username: Your Paperless-NGX username
- API Token: Paste the previously copied API token
3. Configure AI model
Choose your preferred AI model:
Option 1: OpenAI
- Model:
gpt-4o-mini(cost-effective and efficient) - API Key: Enter your OpenAI API key
Option 2: Other supported providers
- DeepSeek, OpenRouter, Perplexity, Together.ai and many more
- Local models with Ollama for maximum privacy
Privacy tip: For sensitive documents, we recommend using local AI models. We also offer dedicated AI servers where you can run your own models.
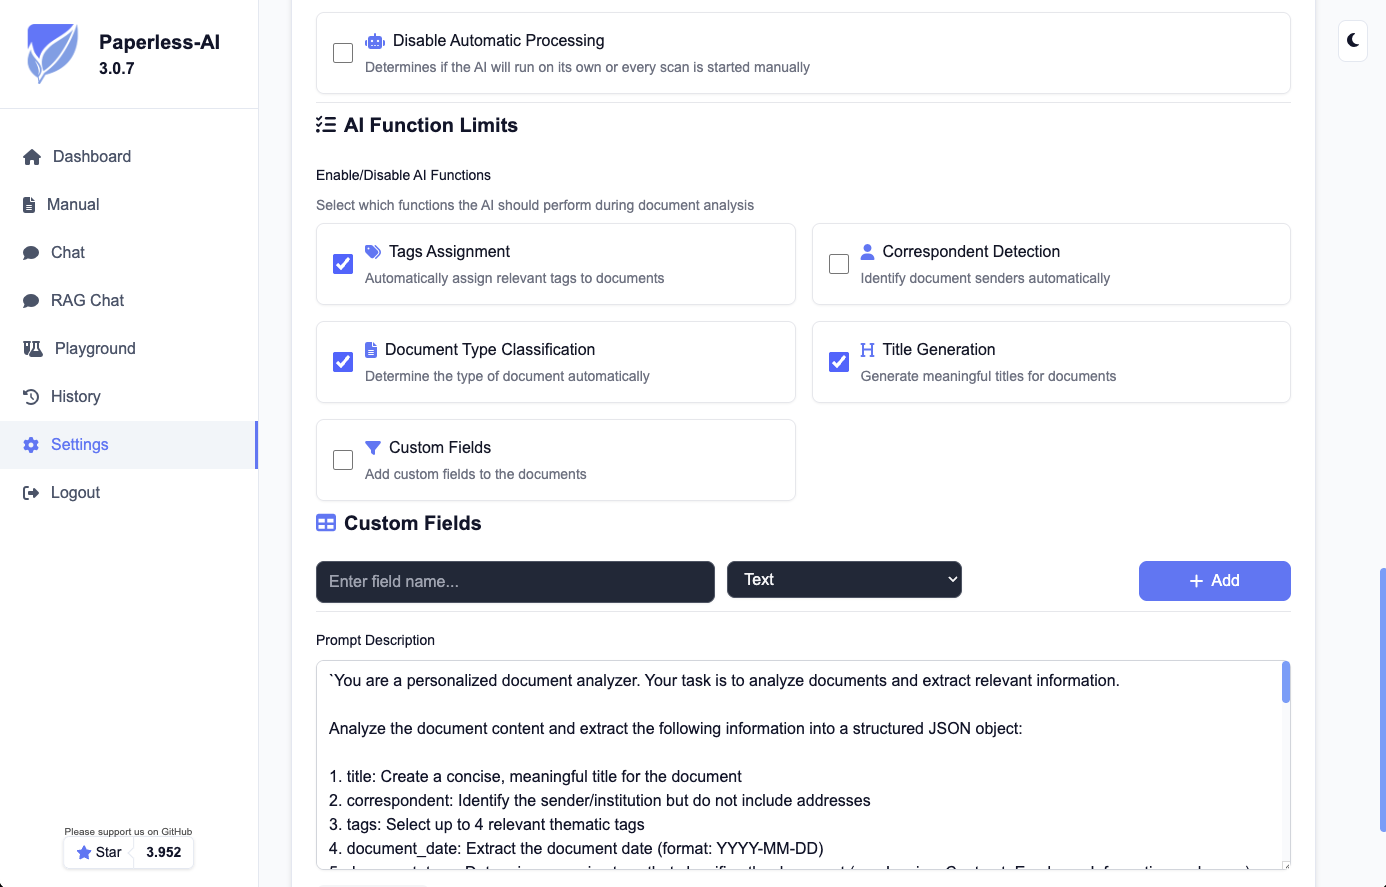
4. Enable features
After successful setup, you'll reach the dashboard. Enable the desired features:
- Title Generation: Automatic title assignment based on document content
- Tag Assignment: Intelligent tag assignment
- Document Type Classification: Automatic document type detection
- Correspondent Detection: Detection of senders/correspondents
Restart container (important!)
After initial configuration, the container must be restarted once to build the RAG index:
cd /opt/paperless/paperless-ai
sudo docker-compose restart
Usage
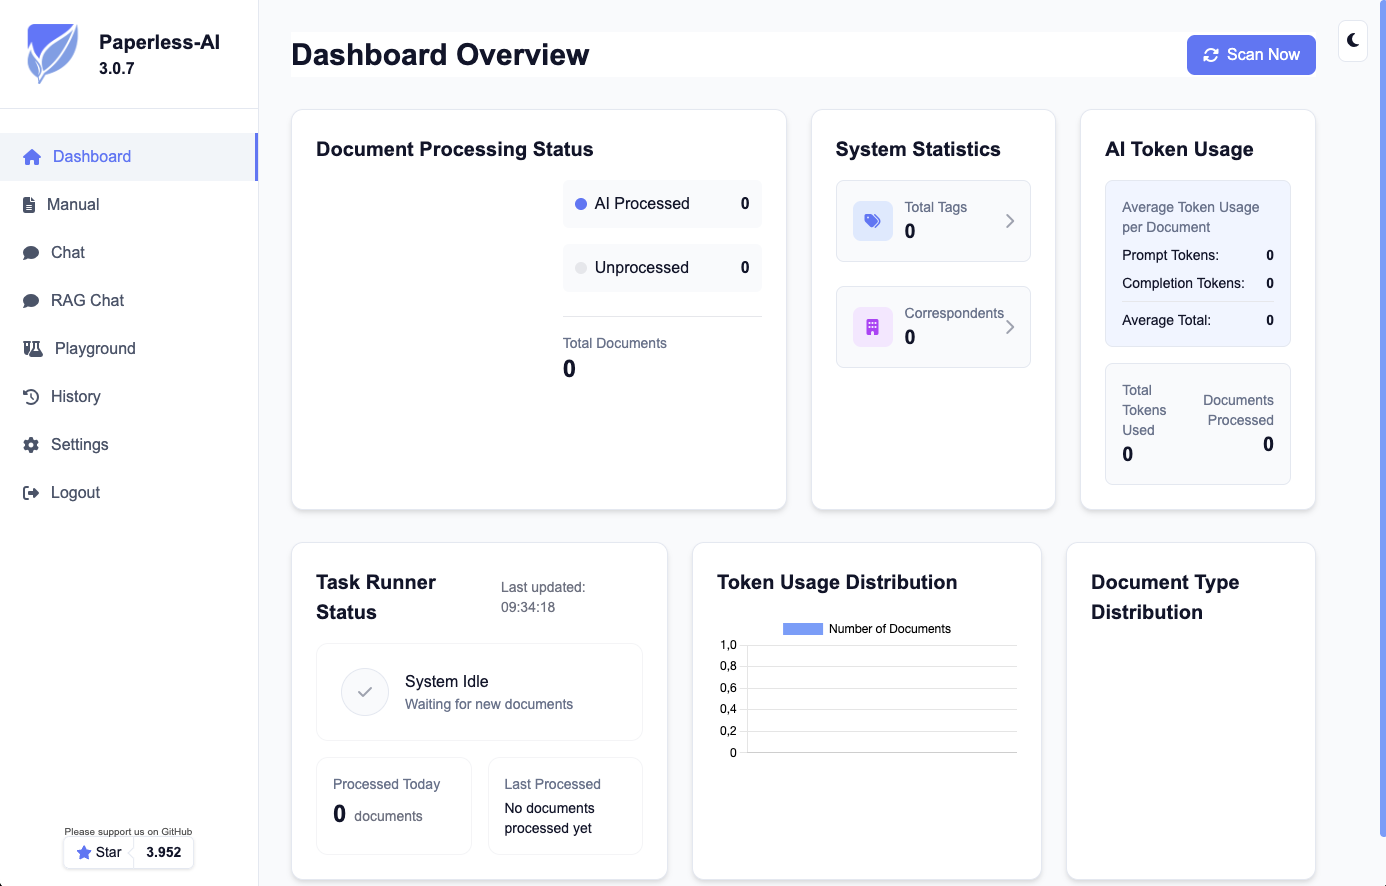
Automatic Processing
As soon as new documents arrive in Paperless-NGX, they are automatically analyzed by Paperless-AI and enriched with metadata.
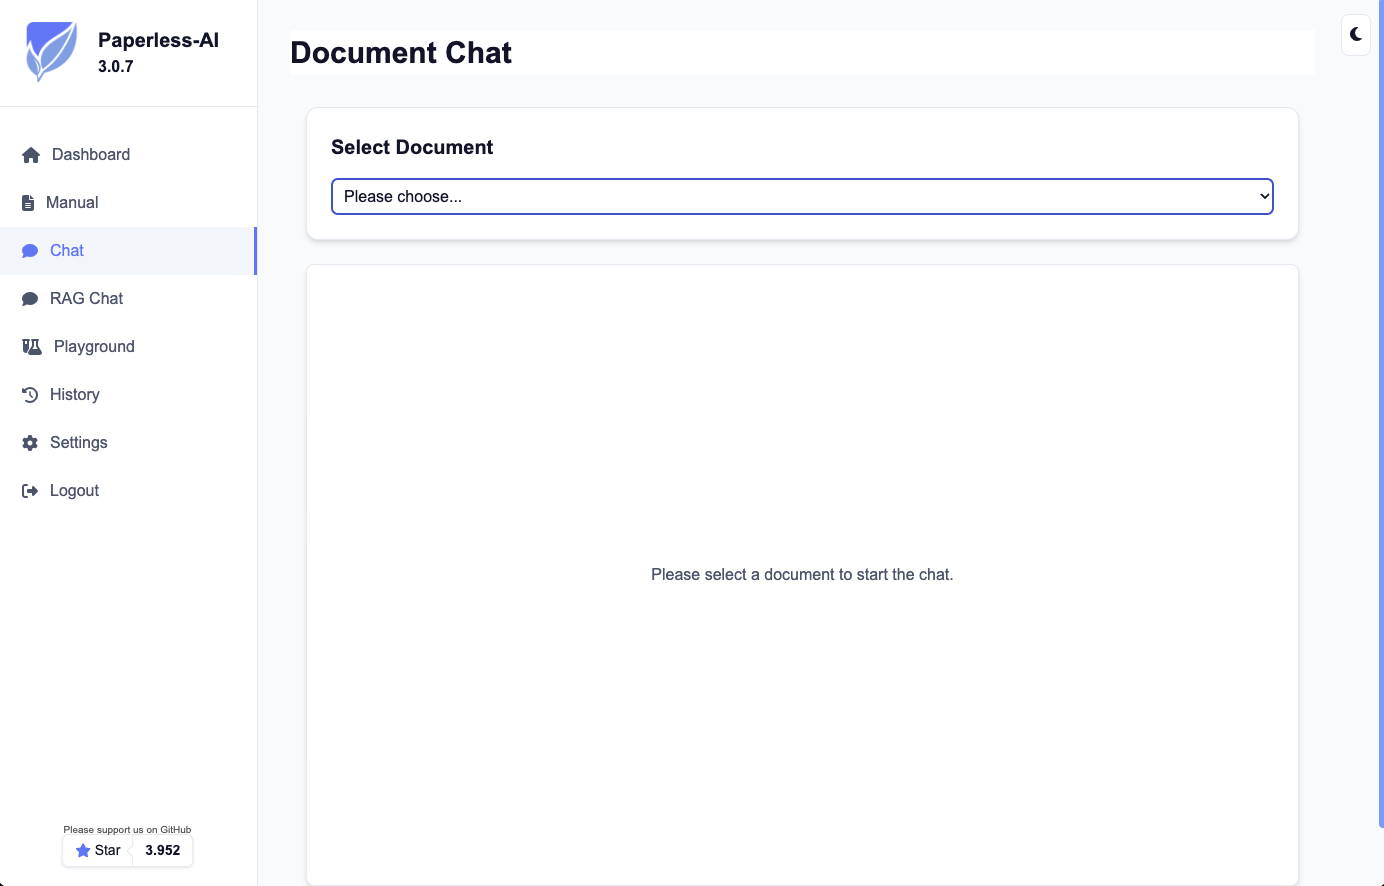
AI Chat for Documents
- Open a document in Paperless-NGX
- Click the "AI Chat" button
- Ask questions about the document content
Manual Processing
For sensitive documents, you can manually select documents for processing at https://paperless-ai.your-domain.com/manual.
Operation Tips
1. Define rules
You can create rules to control which documents are processed:
- Process only specific tags
- Exclude documents with sensitive information
- Automatic actions for certain document types
2. Optimize performance
- Use
gpt-4o-minifor good value - For many documents: Enable batch processing in settings
- Local models: At least 8GB RAM for optimal performance
3. Monitoring
# View logs
sudo docker-compose logs -f

# Check container status
sudo docker ps
Troubleshooting
Connection to Paperless-NGX fails
- Check if the URL is correct (with https://)
- Ensure the API token is valid
- Check firewall rules
AI model not responding
- Check API key and credit
- Check logs:
sudo docker-compose logs -f
Container won't start
# Check permissions
sudo chown -R 1000:1000 /opt/paperless/paperless-ai

# Restart container
sudo docker-compose down
sudo docker-compose up -d
Conclusion
With Paperless-AI, you transform your Paperless-NGX installation into an intelligent document management system. AI-powered analysis and categorization saves time and makes your documents even more discoverable through semantic search.
Want to use Paperless-AI professionally in your company? We support you with installation, configuration, and operation - including privacy-compliant AI models on dedicated servers.
🚀 Local AI Inference with AI Cube
For maximum data sovereignty and performance, we recommend our AI Cube - a plug-and-play solution for local LLM inference:
Perfect for Paperless AI & RAG Setups:
- ✅ No Cloud Dependencies - Your documents stay 100% local
- ✅ Pre-installed Software - Ollama, vLLM, Open WebUI already configured
- ✅ Enterprise-Grade Hardware - RTX PRO 4000/5000/6000 Blackwell with up to 96 GB VRAM
- ✅ Plug & Play - Power on and start immediately
- ✅ Made in Germany - Support, maintenance and hosting all in one
Two models for every need:
- AI Cube Basic (RTX PRO 4000 Blackwell, 24 GB VRAM)
- AI Cube Pro (RTX PRO 6000 Blackwell, 96 GB VRAM)
Written by
Timo Wevelsiep
Co-Founder & CEO
Co-Founder of WZ-IT. Specialized in cloud infrastructure, open-source platforms and managed services for SMEs and enterprise clients worldwide.
LinkedInLet's Talk About Your Idea
Whether a specific IT challenge or just an idea – we look forward to the exchange. In a brief conversation, we'll evaluate together if and how your project fits with WZ-IT.
Trusted by leading companies


Timo Wevelsiep & Robin Zins
CEOs of WZ-IT