Twenty CRM Installation on Ubuntu 24.04 with Caddy and Automatic SSL Certificates


Interested in the product showcased here?
WZ-IT can take care of consulting, installation, support, operation, maintenance, and monitoring for you.
Book your free, no-obligation call here:
Schedule a meeting.
Twenty CRM is a modern, lean alternative to comprehensive CRM systems like Odoo. As an open-source solution, it allows you to maintain full control over your customer data while benefiting from a user-friendly, modern interface. In this guide, we'll show you how to install Twenty CRM on an Ubuntu 24.04 server and automatically set up SSL certificates from Let's Encrypt with Caddy.
Table of Contents
- Prerequisites
- Step 1: Prepare the Server
- Step 2: Install Docker and Docker Compose
- Step 3: Create User for Twenty CRM
- Step 4: Prepare Twenty CRM Installation
- Step 5: Configure Environment Variables
- Step 6: Set up Caddy as Reverse Proxy
- Step 7: Start Twenty CRM
- Step 8: Initial Setup
- Firewall Configuration
- Conclusion
Prerequisites
- An Ubuntu 24.04 server (e.g., a VPS from Hetzner or another provider)
- SSH access to the server
- Domain pointing to the server (at least an A record) (e.g.,
crm.example.com)
In our example, we use the domain crm-demo.wz-it.com. You can replace this domain in the guide with your own domain. We've set the domain with an A record pointing to the IP address of the server where we want to install Twenty CRM. Here's an excerpt from the DNS configuration:

Step 1: Prepare the Server
We log in via SSH as root or a user with sudo privileges on the server and update the package list:
apt update && apt upgrade -y
Step 2: Install Docker and Docker Compose
curl -fsSL https://get.docker.com -o get-docker.sh
sh get-docker.sh
rm get-docker.sh
This script installs the latest version of Docker and Docker Compose. Feel free to check the content of the script to understand what exactly happens. Generally, it's not a good idea to blindly execute scripts from the internet, but in this case, it's a common method to install Docker.
Step 3: Create User for Twenty CRM
We create a new user that will later be used for the Twenty CRM installation. We also add the user to the Docker group so they can execute Docker commands without sudo. This is important because Twenty CRM runs in Docker containers and the user needs access to Docker resources.
adduser --system --group --home /opt/twenty twenty
sudo usermod -aG docker twenty
Step 4: Prepare Twenty CRM Installation
We switch to the user directory and create the necessary files for Twenty CRM:
cd /opt/twenty
First, we create the Docker Compose configuration:
sudo -u twenty nano docker-compose.yml
Add the following content:
name: twenty
services:
  server:
    image: 'twentycrm/twenty:${TAG:-latest}'
    volumes:
      - server-local-data:/app/packages/twenty-server/.local-storage
    environment:
      NODE_PORT: 3000
      PG_DATABASE_URL: 'postgres://${PG_DATABASE_USER:-postgres}:${PG_DATABASE_PASSWORD:-postgres}@${PG_DATABASE_HOST:-db}:${PG_DATABASE_PORT:-5432}/postgres'
      SERVER_URL: '${SERVER_URL}'
      REDIS_URL: '${REDIS_URL:-redis://redis:6379}'
      DISABLE_DB_MIGRATIONS: '${DISABLE_DB_MIGRATIONS}'
      DISABLE_CRON_JOBS_REGISTRATION: '${DISABLE_CRON_JOBS_REGISTRATION}'
      STORAGE_TYPE: '${STORAGE_TYPE}'
      APP_SECRET: '${APP_SECRET:-replace_me_with_a_random_string}'
    depends_on:
      db:
        condition: service_healthy
    healthcheck:
      test: 'curl --fail http://localhost:3000/healthz'
      interval: 5s
      timeout: 5s
      retries: 20
    restart: always
    networks:
      - twenty-network
  worker:
    image: 'twentycrm/twenty:${TAG:-latest}'
    command:
      - yarn
      - 'worker:prod'
    environment:
      PG_DATABASE_URL: 'postgres://${PG_DATABASE_USER:-postgres}:${PG_DATABASE_PASSWORD:-postgres}@${PG_DATABASE_HOST:-db}:${PG_DATABASE_PORT:-5432}/postgres'
      SERVER_URL: '${SERVER_URL}'
      REDIS_URL: '${REDIS_URL:-redis://redis:6379}'
      DISABLE_DB_MIGRATIONS: 'true'
      DISABLE_CRON_JOBS_REGISTRATION: 'true'
      STORAGE_TYPE: '${STORAGE_TYPE}'
      APP_SECRET: '${APP_SECRET:-replace_me_with_a_random_string}'
    depends_on:
      db:
        condition: service_healthy
      server:
        condition: service_healthy
    restart: always
    networks:
      - twenty-network
  db:
    image: 'postgres:16'
    volumes:
      - 'db-data:/var/lib/postgresql/data'
    environment:
      POSTGRES_USER: '${PG_DATABASE_USER:-postgres}'
      POSTGRES_PASSWORD: '${PG_DATABASE_PASSWORD:-postgres}'
    healthcheck:
      test: 'pg_isready -U ${PG_DATABASE_USER:-postgres} -h localhost -d postgres'
      interval: 5s
      timeout: 5s
      retries: 10
    restart: always
    networks:
      - twenty-network
  redis:
    image: redis
    restart: always
    command:
      - '--maxmemory-policy'
      - noeviction
    networks:
      - twenty-network
  caddy:
    image: caddy
    ports:
      - "80:80"
      - "443:443"
    volumes:
      - ./caddy/data/:/data/
      - ./caddy/config/:/config/
      - ./caddy/Caddyfile:/etc/caddy/Caddyfile
    restart: always
    networks:
      - twenty-network
volumes:
  db-data: null
  server-local-data: null
networks:
  twenty-network:
    driver: bridge
Step 5: Configure Environment Variables
Create the .env file with the necessary configurations:
sudo -u twenty nano .env
Add the following content:
TAG=v1.2 # Optional: Specify a specific version of Twenty CRM, e.g., v1.2
APP_SECRET=INSERT_GENERATED_SECRET_HERE
PG_DATABASE_USER=postgres
PG_DATABASE_PASSWORD=INSERT_SECURE_PASSWORD_HERE
PG_DATABASE_HOST=db
PG_DATABASE_PORT=5432
DISABLE_DB_MIGRATIONS=false
DISABLE_CRON_JOBS_REGISTRATION=false
REDIS_URL=redis://redis:6379
SERVER_URL=https://crm-demo.wz-it.com
STORAGE_TYPE=local
Generate a secure APP_SECRET and database password with the following commands:
# Generate APP_SECRET
openssl rand -base64 32

# Generate secure database password
openssl rand -base64 32
Replace:
INSERT_GENERATED_SECRET_HEREwith the generated APP_SECRETINSERT_SECURE_PASSWORD_HEREwith the generated database passwordhttps://crm-demo.wz-it.comin SERVER_URL with your own domain (e.g.,https://crm.yourdomain.com)
Step 6: Set up Caddy as Reverse Proxy
Create the directories for Caddy and the configuration file:
sudo -u twenty mkdir -p /opt/twenty/caddy
Create the Caddyfile file in the Caddy directory:
sudo -u twenty nano /opt/twenty/caddy/Caddyfile
Add the following content:
{
    email [email protected] # Your email address for Let's Encrypt notifications
}

crm-demo.wz-it.com { # Replace this with your domain
    reverse_proxy http://server:3000
}
Replace crm-demo.wz-it.com with your own domain and [email protected] with your email address. The email address is used for Let's Encrypt certificate registration.
Step 7: Start Twenty CRM
We now start Twenty CRM with Docker Compose:
sudo -u twenty docker compose up -d
Twenty CRM will now start and should be accessible via HTTPS after a few minutes. You can verify this by opening your domain in your browser (in our example that would be https://crm-demo.wz-it.com, for you it's the domain you configured in the Caddyfile).
Troubleshooting: Manual Database Initialization
If you cannot log in or encounter database errors, you may need to manually initialize the database:
# Enter the server container
sudo -u twenty docker compose exec server bash

# Navigate to the correct directory
cd /app/packages/twenty-server

# Initialize the database
yarn database:init:prod
When prompted to install ts-node, confirm with y. The output should look like this:
Need to install the following packages:
[email protected]
Ok to proceed? (y) y

Performed 'create schema "public"' successfully
Performed 'create schema "core"' successfully
Performed 'create extension "uuid-ossp"' successfully
After successful initialization, exit the container with exit and restart the server:
sudo -u twenty docker compose restart server
Step 8: Initial Setup
After successful startup, you can access Twenty CRM via your domain. You will be redirected to the login page:
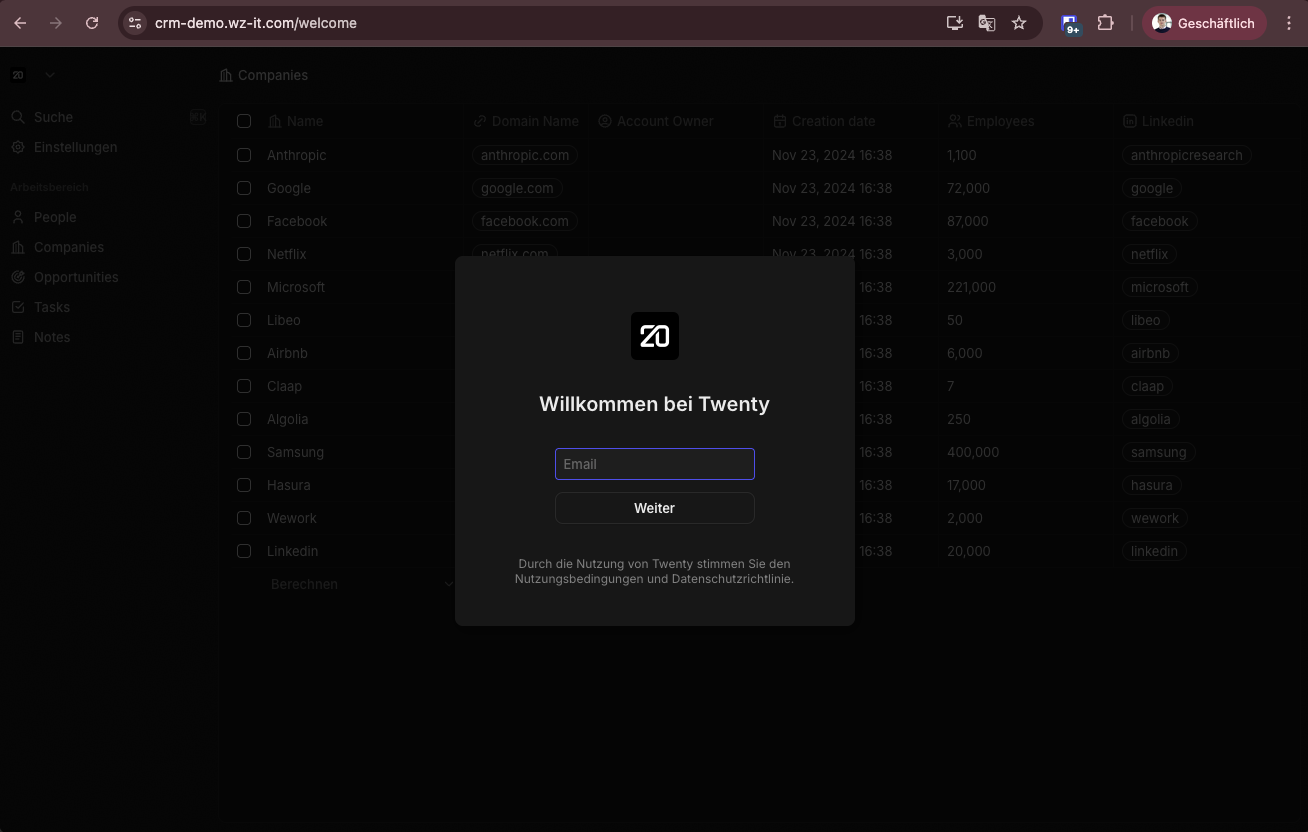
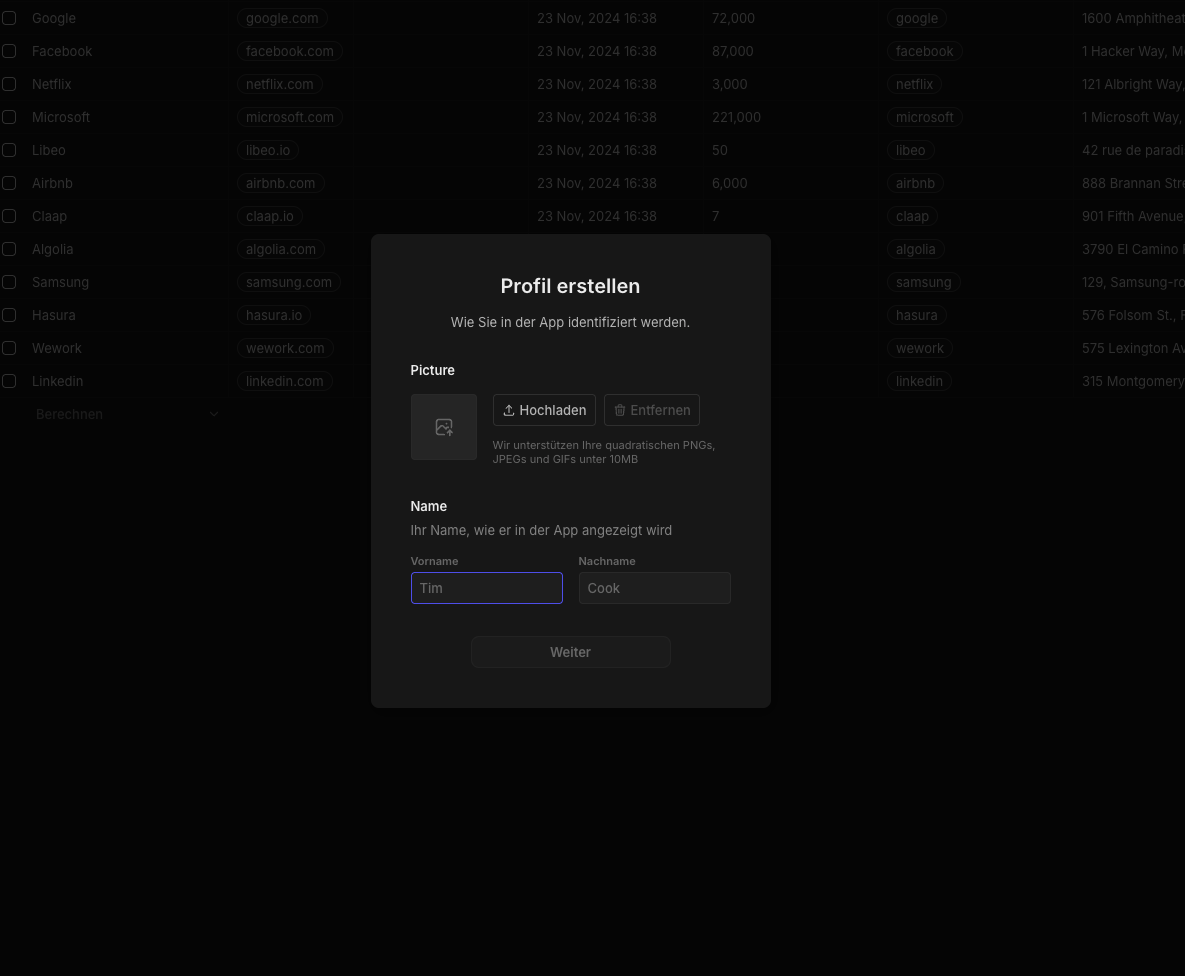
On first access, you'll be guided through the initial setup where you can create your admin account:
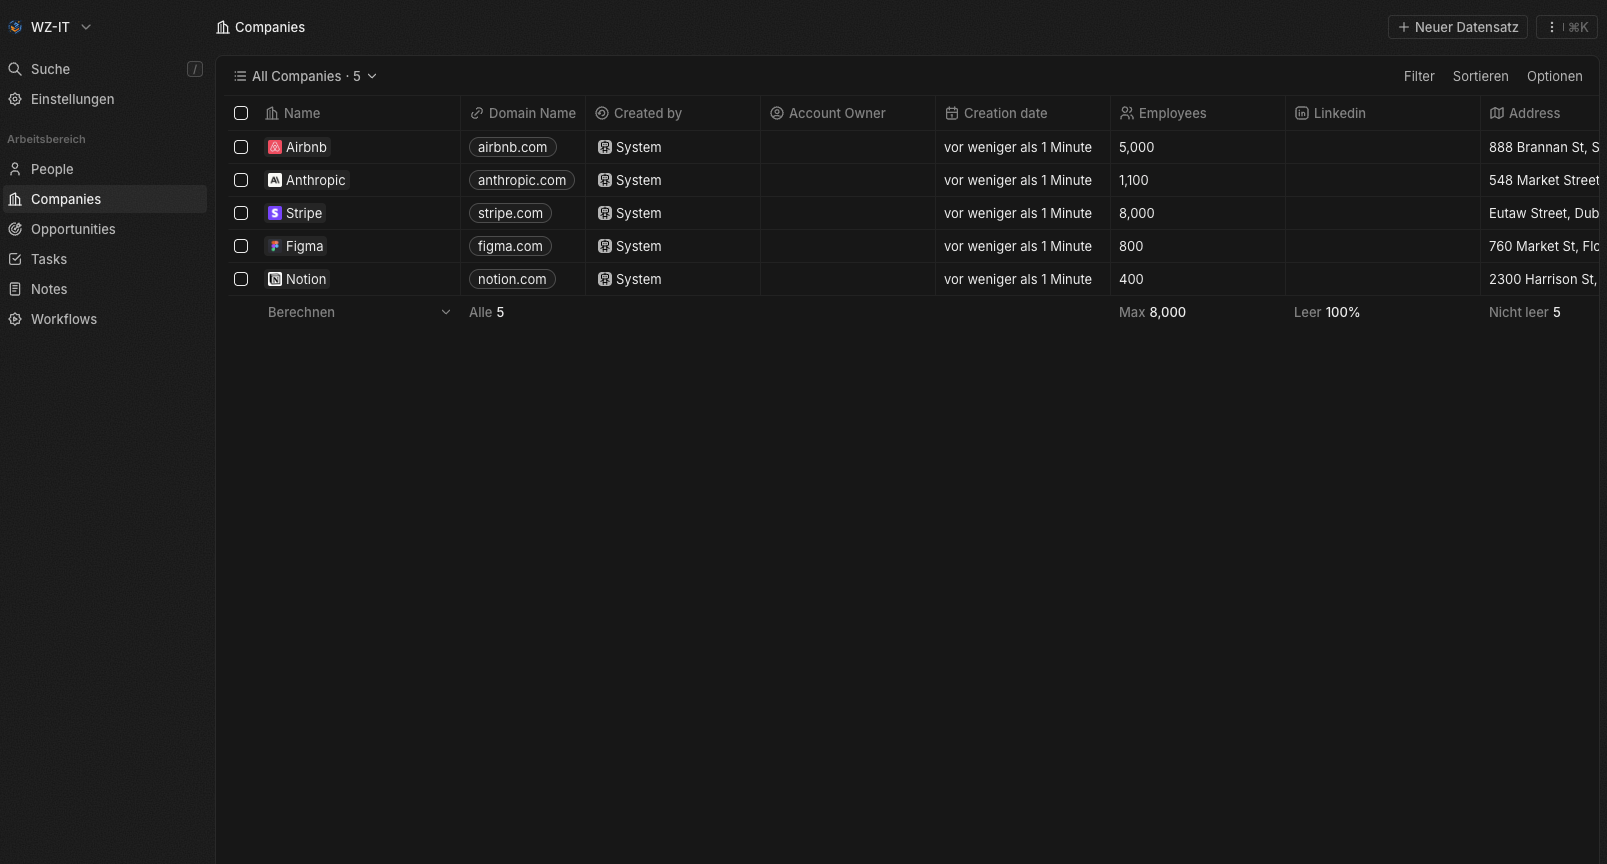
After setup, you'll have access to the modern Twenty CRM dashboard:
Firewall Configuration
If you have set up a firewall on your server, make sure ports 80 (HTTP) and 443 (HTTPS) are open. This is necessary for Caddy to receive requests via HTTP and HTTPS.
Conclusion
With this guide, you have successfully installed Twenty CRM on an Ubuntu 24.04 server and set up an SSL certificate from Let's Encrypt with Caddy. Twenty CRM offers a modern, user-friendly alternative to more complex CRM systems like Odoo and is particularly suitable for small to medium-sized businesses looking for a lean CRM solution.
For more information and documentation, visit the official Twenty CRM website: https://twenty.com/ and the GitHub repository: https://github.com/twentyhq/twenty.
Written by
Timo Wevelsiep
Co-Founder & CEO
Co-Founder of WZ-IT. Specialized in cloud infrastructure, open-source platforms and managed services for SMEs and enterprise clients worldwide.
LinkedInLet's Talk About Your Idea
Whether a specific IT challenge or just an idea – we look forward to the exchange. In a brief conversation, we'll evaluate together if and how your project fits with WZ-IT.
Trusted by leading companies


Timo Wevelsiep & Robin Zins
CEOs of WZ-IT