
Run Proxmox on Hetzner professionally? WZ-IT handles setup, network design, operations and support for your Proxmox infrastructure. To the service page →
This post covers a reproducible installation of Proxmox VE on a Hetzner Dedicated Server as a single node with ZFS Mirror (RAID1) - without a KVM console, by booting the server into the rescue system and letting a script automate the installation. The project lists AX, EX and SX as compatible series and AX-102 as its primary test model.
What You'll Get
- Freshly installed Proxmox VE (automated via ISO + auto-install)
- Root filesystem on ZFS (Mirror/RAID1)
- Typical Proxmox network setup:
- vmbr0 = Public Bridge (IPv4/IPv6)
- vmbr1 = Private Bridge with NAT/Masquerading (practical for internal networks/LXCs/VMs)
- Proxmox Web GUI accessible at
https://<IP>:8006
Important Notes (Please Read)
- Warning: Data Loss. This installation is intended for fresh installs and will overwrite the system on the disks (typical reinstall behavior).
- This is a third-party script (ariadata/proxmox-hetzner). Read through it before running and only use it if you agree that it modifies system and network files as well as APT sources.
- Hetzner's network configuration is somewhat "special" (routing/gateway requirements). If you change things later, refer to Hetzner guidelines.
- As of October 2026: The project uses the MIT license and primarily reports tests on AX-102. The source selects the latest ISO for download; an existing
pve.isois reused. Review script and ISO before running as root.
WZ-IT offers maintenance and support for updates, monitoring and backups.
Prerequisites
Before choosing a server, check hardware and sizing and compare hosting providers.
- Hetzner Dedicated Server of the AX, EX or SX series (the project reports tests mainly on AX-102)
- Access to Hetzner Robot (or Hetzner Cloud Rescue, depending on product)
- SSH Client (Linux/macOS Terminal or Windows PowerShell/WSL)
- Optional: SSH key registered in Robot (more convenient for rescue)
Table of Contents
- Step 1: Activate Rescue System
- Step 2: Start Installation via Script
- Step 3: What the Script Does
- Step 4: Reboot & Login
- Quick Checks After Login
- Sources
Step 1: Activate Rescue System (Hetzner Robot)
- In Hetzner Robot: Servers → select your server → Rescue
- Select Linux / 64-bit (public key optional) and activate rescue
- Then in the Reset tab, trigger a Hardware Reset
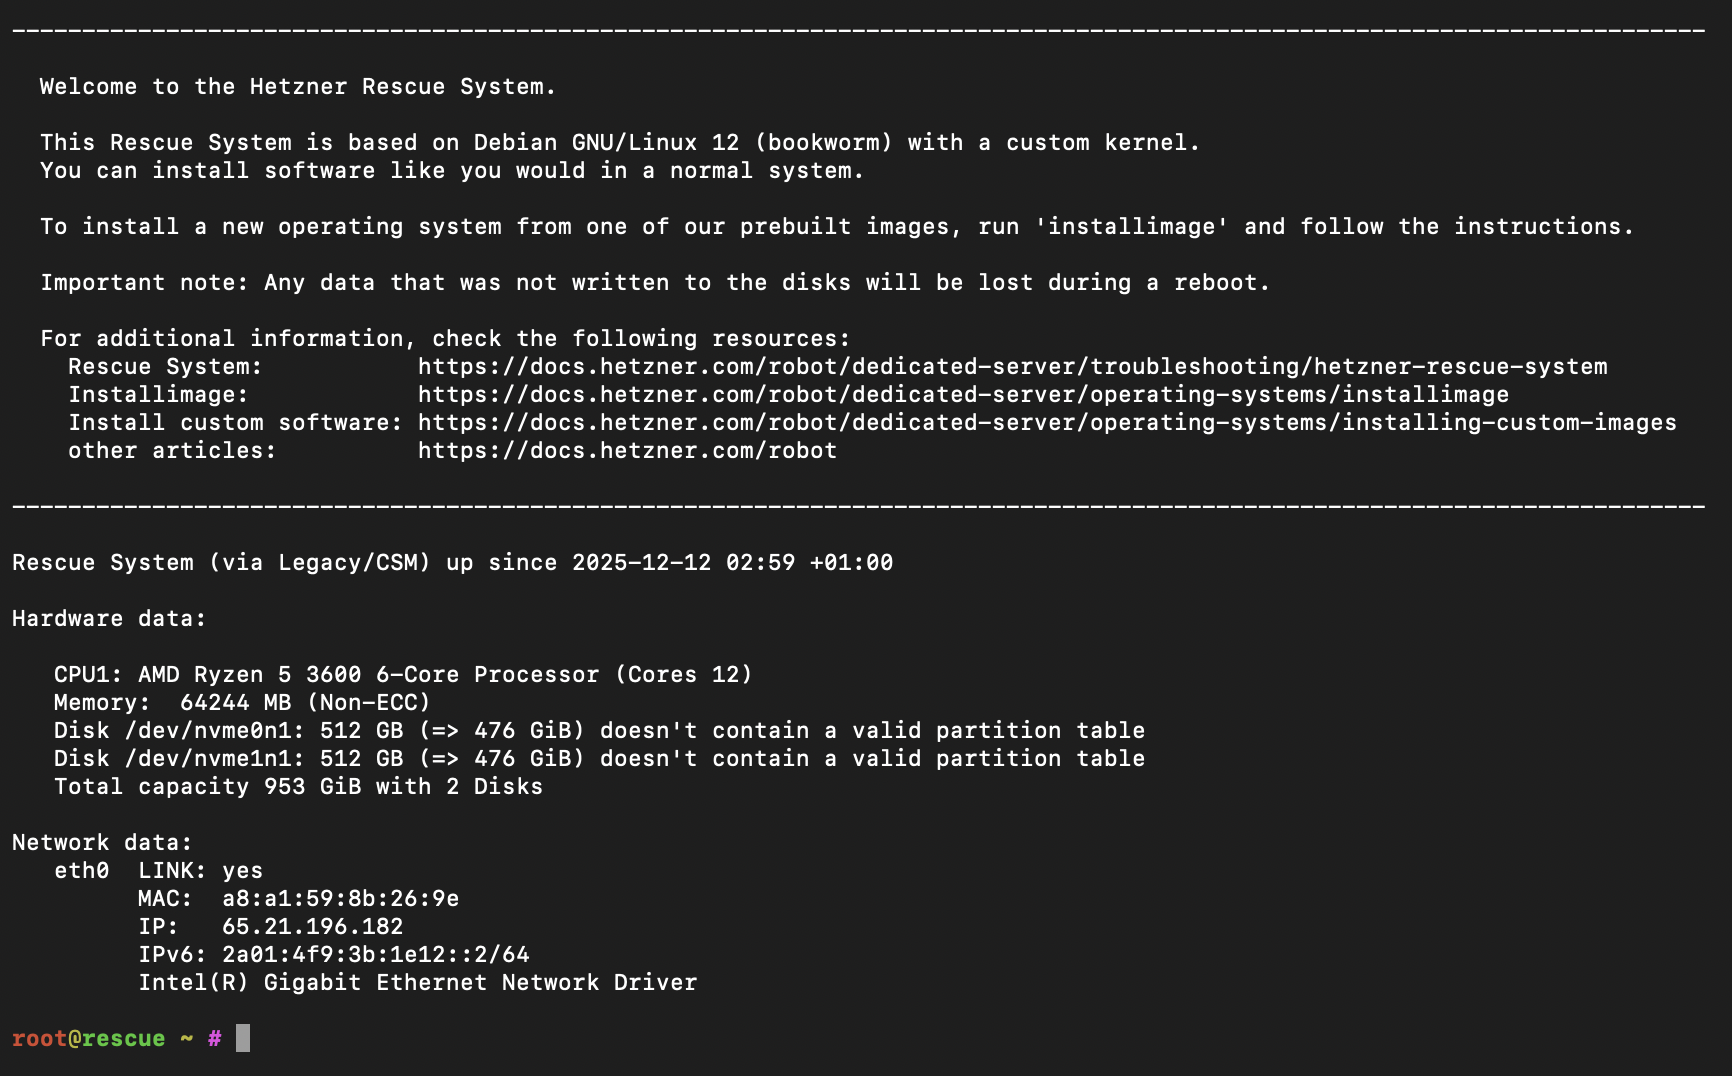
- SSH into the rescue system as
root(password is shown in Robot)
Step 2: Start Installation via Script
In the rescue system as root:
curl -fSLo pve-install.sh https://raw.githubusercontent.com/ariadata/proxmox-hetzner/main/scripts/pve-install.sh
less pve-install.sh
Before running, read the entire script, including files it downloads. To pin a revision, replace main in the download URL with the full commit hash of the selected revision; if releases or tags exist, select their corresponding commit. Only then execute the local file:
bash pve-install.sh
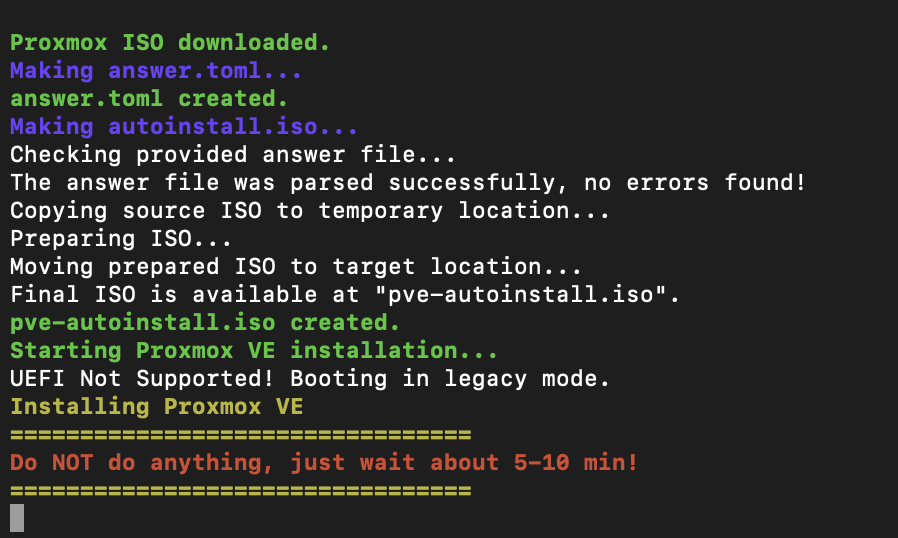
The project describes the process as an automated installation without console (ISO is downloaded, auto-install configuration is created, ZFS RAID1 is set up, network IPv4/IPv6 is configured, hostname/FQDN etc.).
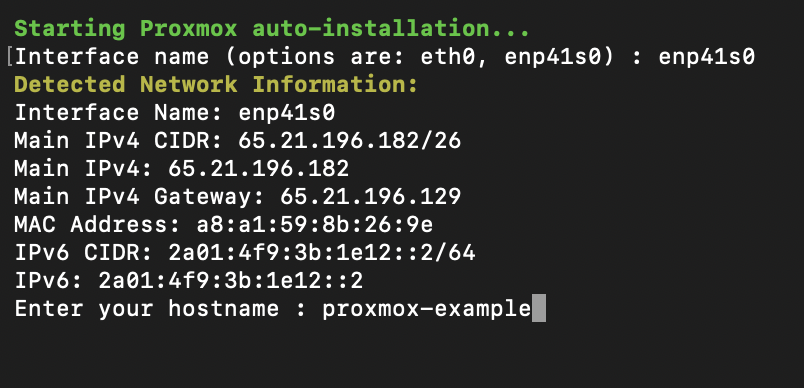
What the script interactively asks:
- Network interface (e.g.,
eno1) - Hostname & FQDN
- Timezone & email
- Private subnet (for vmbr1/NAT)
- New root password
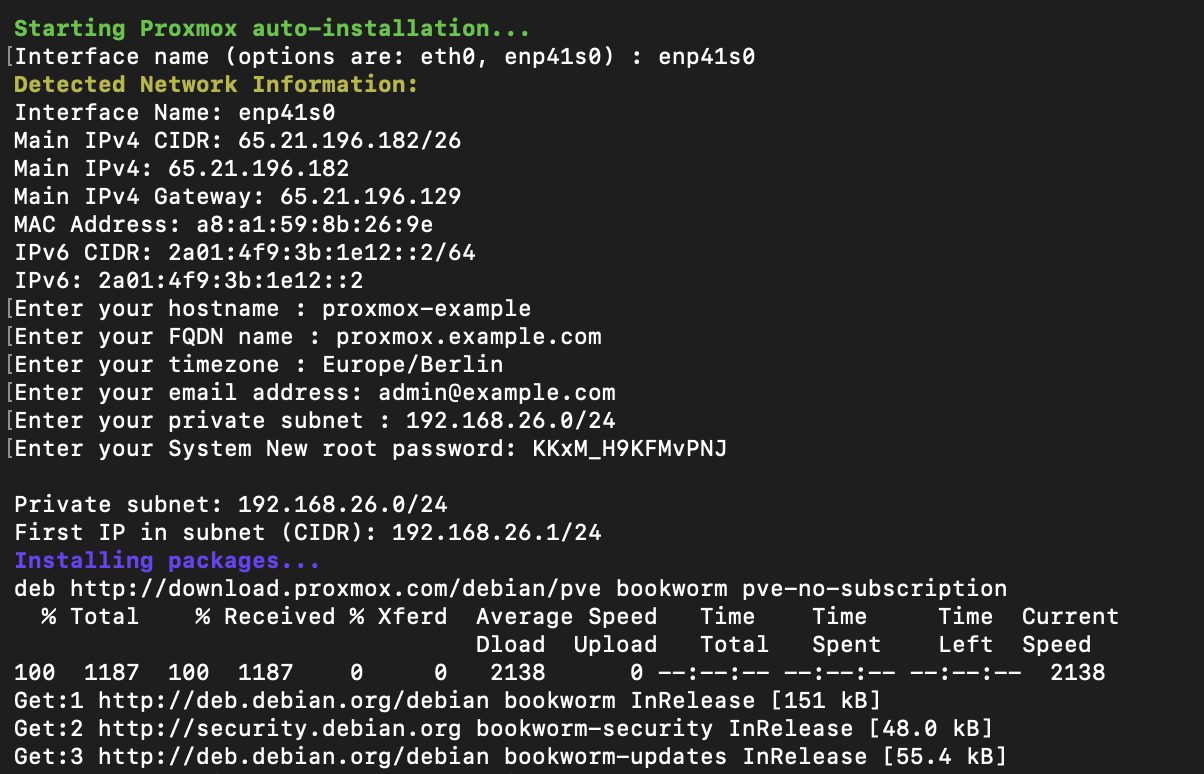
After confirmation, the automatic installation begins:
Step 3: What the Script Does Technically (Brief and Transparent)
So you know what's happening, here are the key components:
1) Proxmox ISO + Auto-Install
The script downloads a Proxmox VE ISO (automatically "latest") and creates an auto-install ISO via the Proxmox auto-install assistant.
2) ZFS Mirror (RAID1)
The auto-install answer file sets:
filesystem = "zfs"zfs.raid = "raid1"- Installation on two disks (as
vda/vdbin the installer)
Proxmox has supported ZFS as a root option for years (no manual module building required).
The storage options are explained in ZFS, Ceph or LVM compared.
3) Installation via QEMU in Rescue
The Proxmox installation is booted in a QEMU VM within the rescue system, installing directly to the server disks (virtually mapped as vda/vdb).
4) Networking with one public IP: vmbr0 and vmbr1 with NAT
After installation, the script briefly boots the freshly installed environment with SSH port forwarding, copies prepared template files over, and sets up:
/etc/network/interfaceswithvmbr0(Public Bridge, IPv4 + IPv6)vmbr1(Private Bridge) plus NAT/MASQUERADE iptables rules
- IP forwarding via sysctl (
net.ipv4.ip_forward=1,net.ipv6.conf.all.forwarding=1)
This is practical when you want to run VMs/LXCs "internally" first without immediately routing public IPs.
Step 4: Reboot and Log into Proxmox
After completion, the script asks if it should reboot:

After that, your server boots into the installed Proxmox.
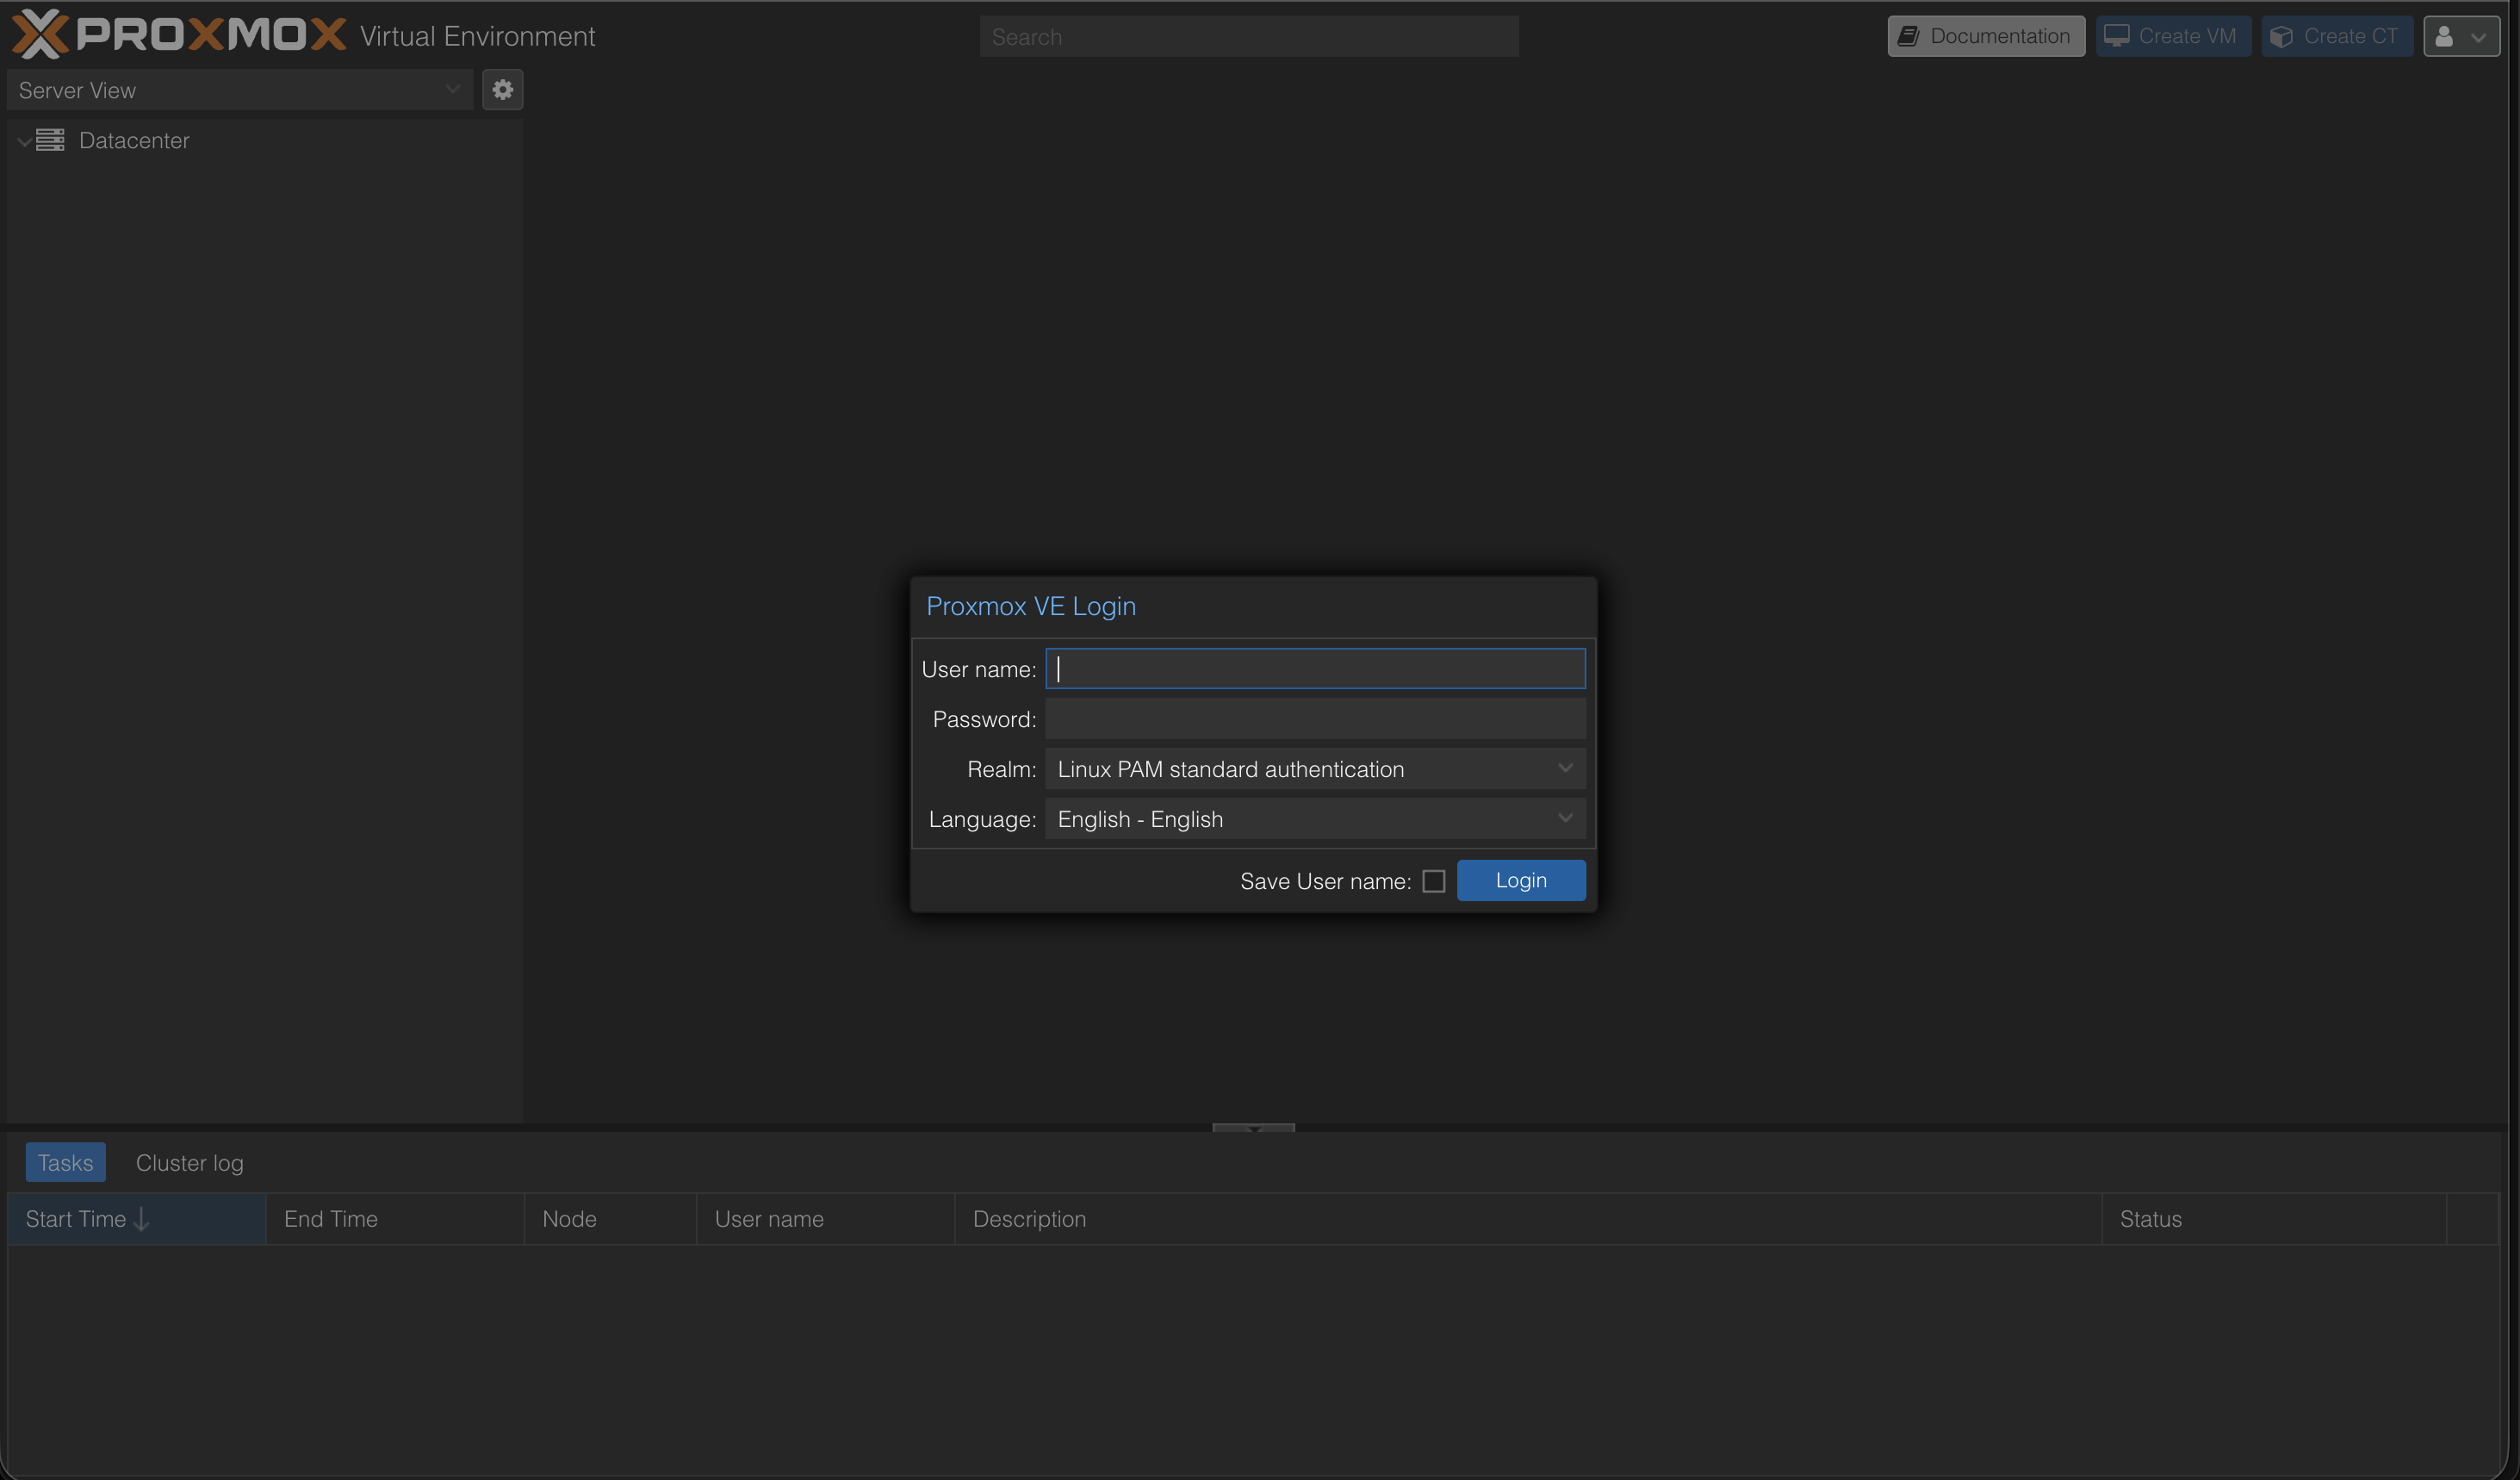
Access the web interface at:
https://<your-server-ip>:8006
Login:
- User:
root - Password: the password you set (in the script/installer)
Quick Checks After Login
1. Check ZFS Pool (Shell on Node)
zpool status
zfs list
You should see a mirror pool (ZFS RAID1). The ZFS root setup is the core of this approach.
2. Check Network Bridges
Datacenter → <Node> → System → Network
You should see vmbr0 and vmbr1 (Public/Private).
Optional: Next Steps
For subsequent steps, see the guides to running without a subscription and encrypted backups on Hetzner.
- Update system:
apt update && apt dist-upgrade -y - Update ISO index and load templates
- Remove subscription warning: Tutorial: Remove Proxmox Subscription Notice
- If you want to manually adjust Hetzner-specific network details (additional IPs/subnets/routing): Hetzner Community Tutorials are a good reference.
Read next:VMware to Proxmox migration · Setting up Proxmox Backup Server · Private cloud for SMEs
Sources
- Hetzner Docs: Rescue System
- Hetzner Community: Install Proxmox & Networking
- Proxmox Docs: Web GUI
- Proxmox Wiki: ZFS on Linux
- GitHub: ariadata/proxmox-hetzner
Further Guides
For public connectivity and private guests: Proxmox on Hetzner with one IP and a firewall VM.
- Proxmox on Hetzner - Managed Service
- Proxmox Overview
- Proxmox Maintenance & Support
- Proxmox Backup Server
- Hetzner Expertise
- Proxmox Cluster Network on Hetzner
Have questions about Proxmox, virtualization, or cluster setups on Hetzner? We support you with installation, operations, and optimization. Schedule a consultation now